
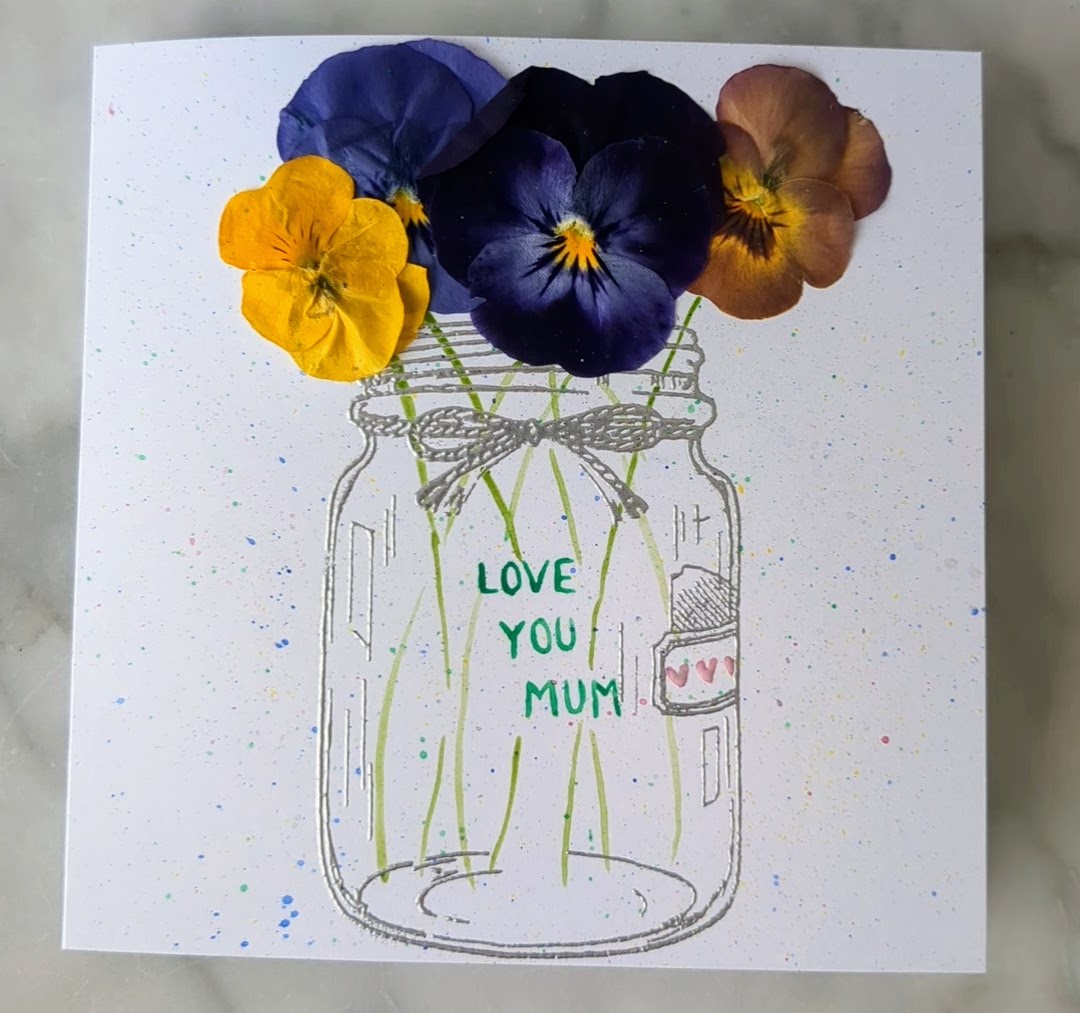
There’s something extra special about giving a handmade card — especially when it includes real flowers from your own garden! This DIY Pressed flower card tutorial is the perfect way to say “Love you Mum” on Mother’s Day or her birthday, and it’s much easier than it looks. I’ll walk you through exactly how to make it, and share the tools I used to get that crisp, professional finish.
What You’ll Need for this Pressed Flower Card Tutorial:
- Fresh violas (or other small garden flowers)
- Microfleur Microwave Flower Press
- Blank white card or cardstock
- Glass Bottle Background Stamp from Etsy
- Clear Embossing Ink Pad
- Silver Embossing Powder
- Mini Heat Gun
- PVA glue
- Watercolours and a fine brush
- Optional: Scrap paper or a tray to catch embossing powder
Why You’ll Love This Pressed Flower Card Tutorial
This pressed flower card tutorial is perfect for beginners and experienced crafters alike. Whether you’re making a Mother’s Day card or a heartfelt birthday greeting, using real pressed flowers adds a personal and botanical touch. The Microfleur flower press speeds up the process and keeps those viola colours vivid. Combined with embossing techniques and watercolour accents, this handmade card becomes a truly special keepsake your loved one will cherish.
Step-by-Step Instructions – Pressed flower card tutorial
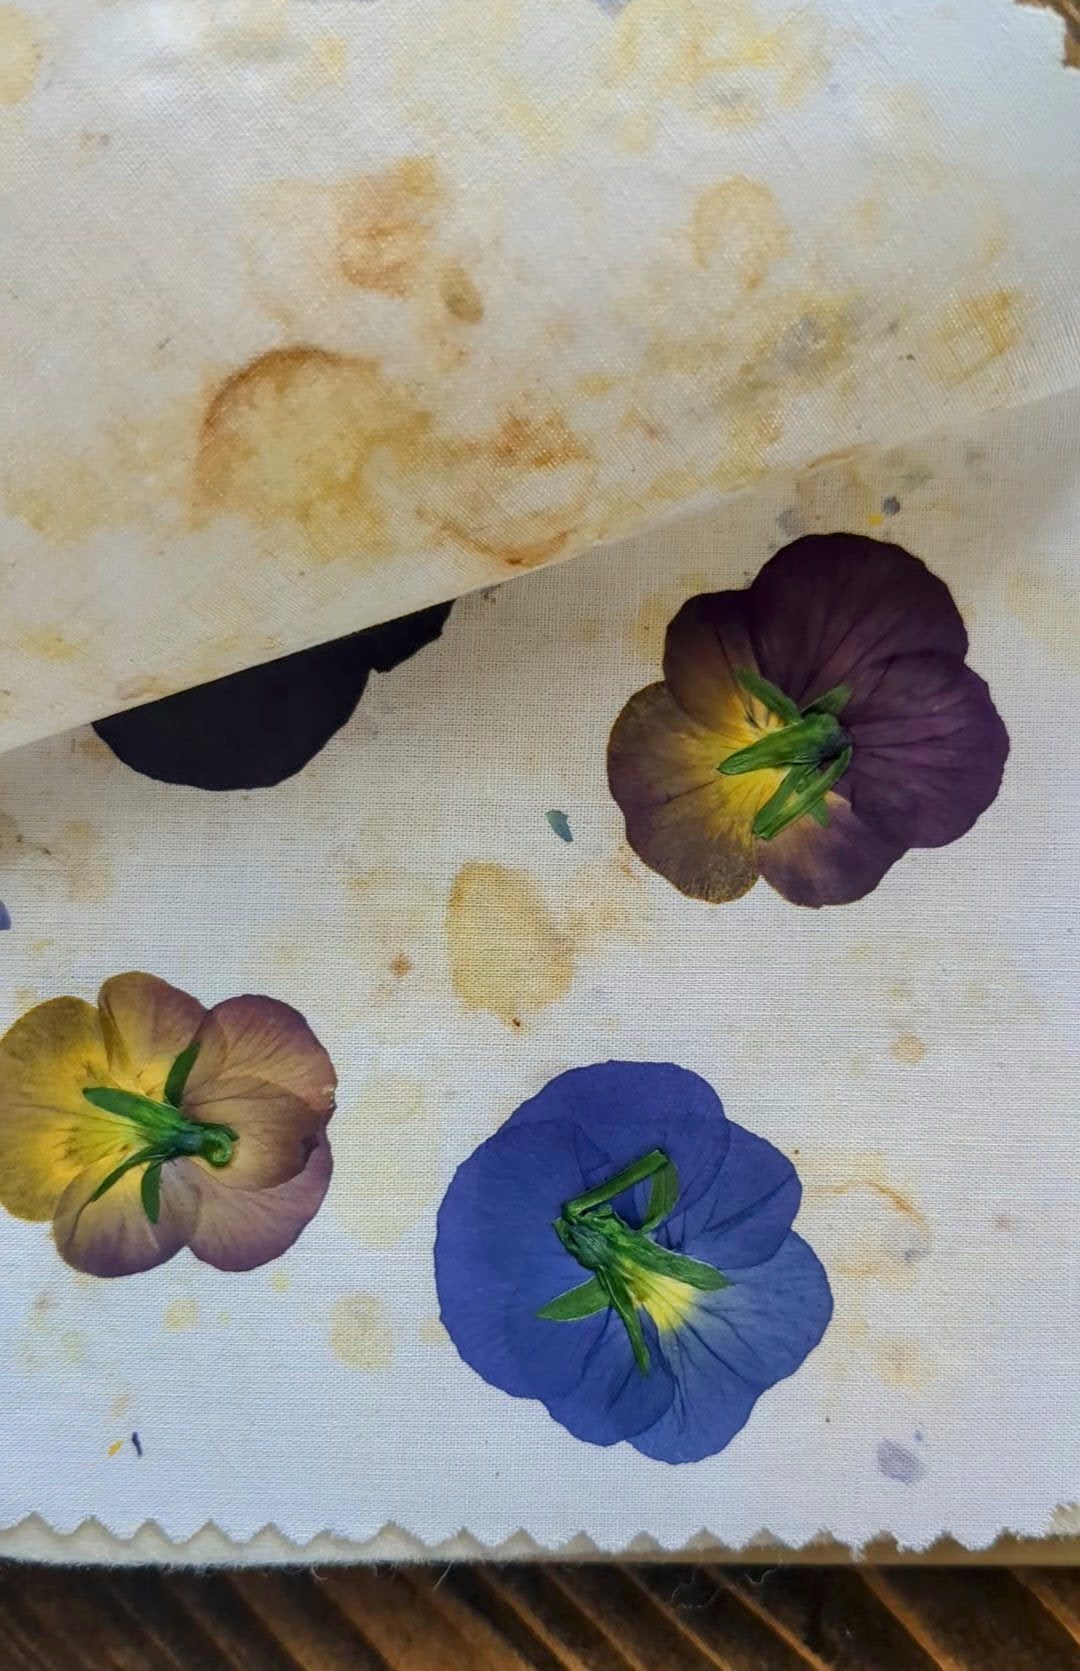
1. Pick and Press Your Flowers
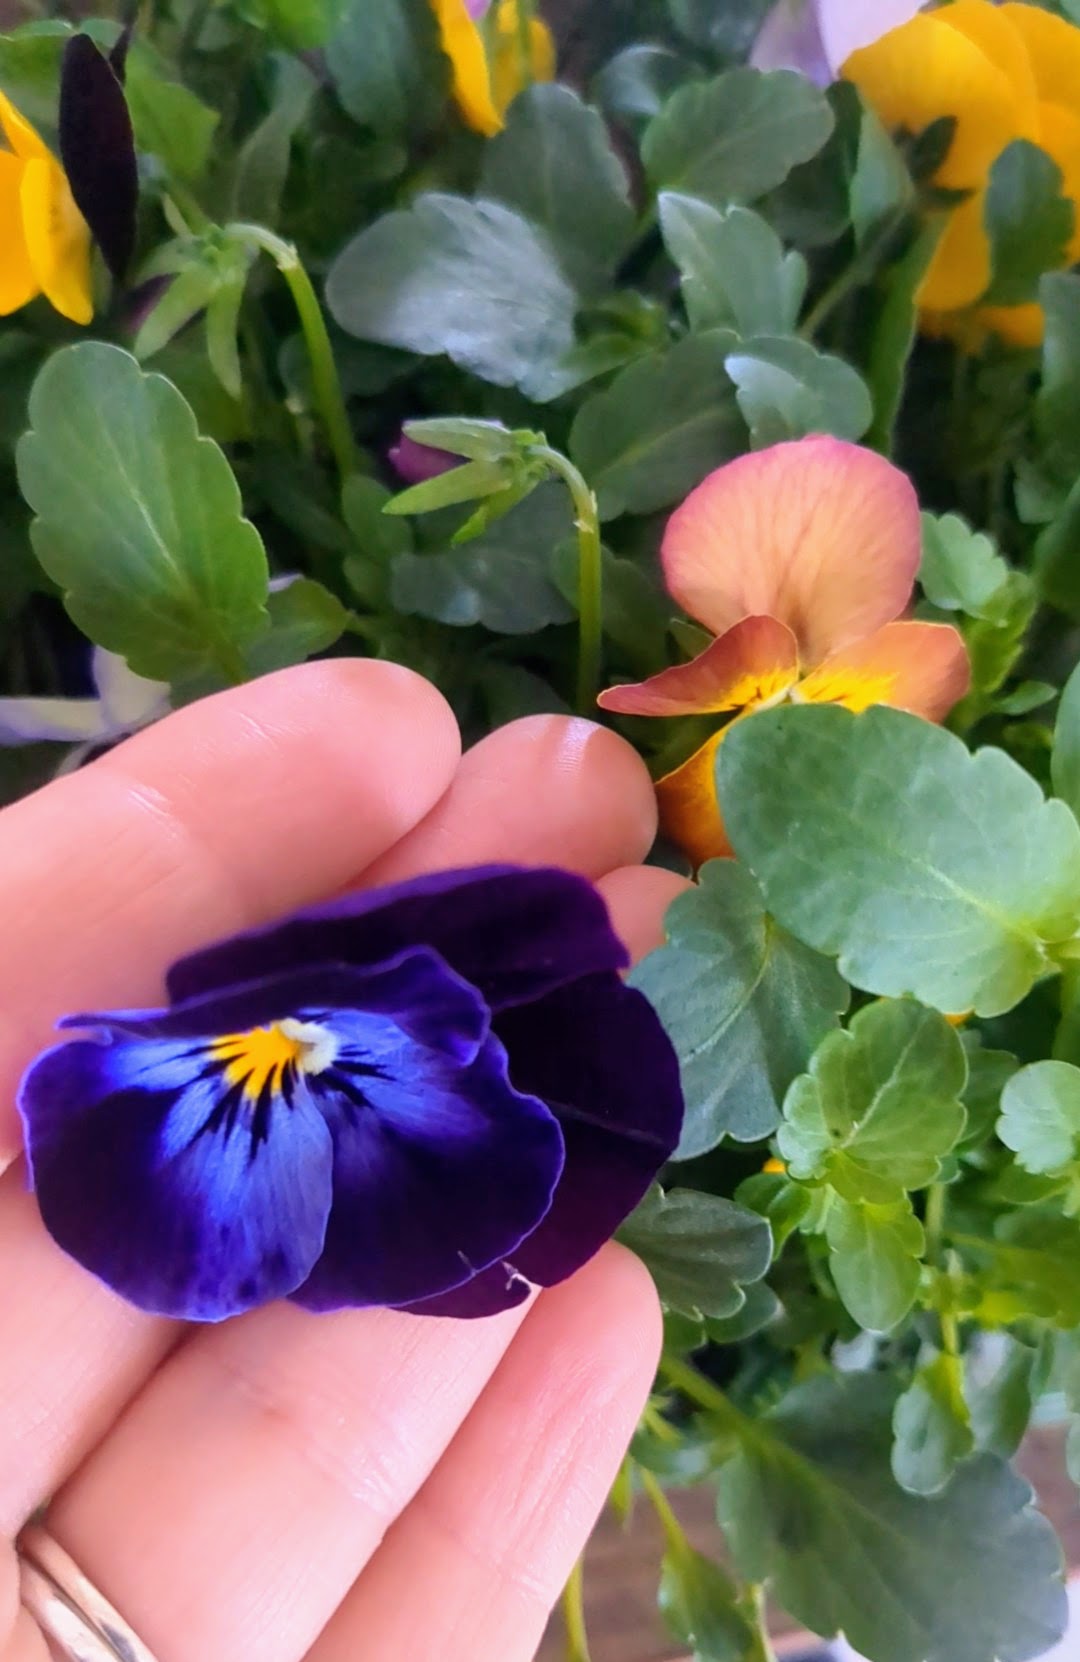
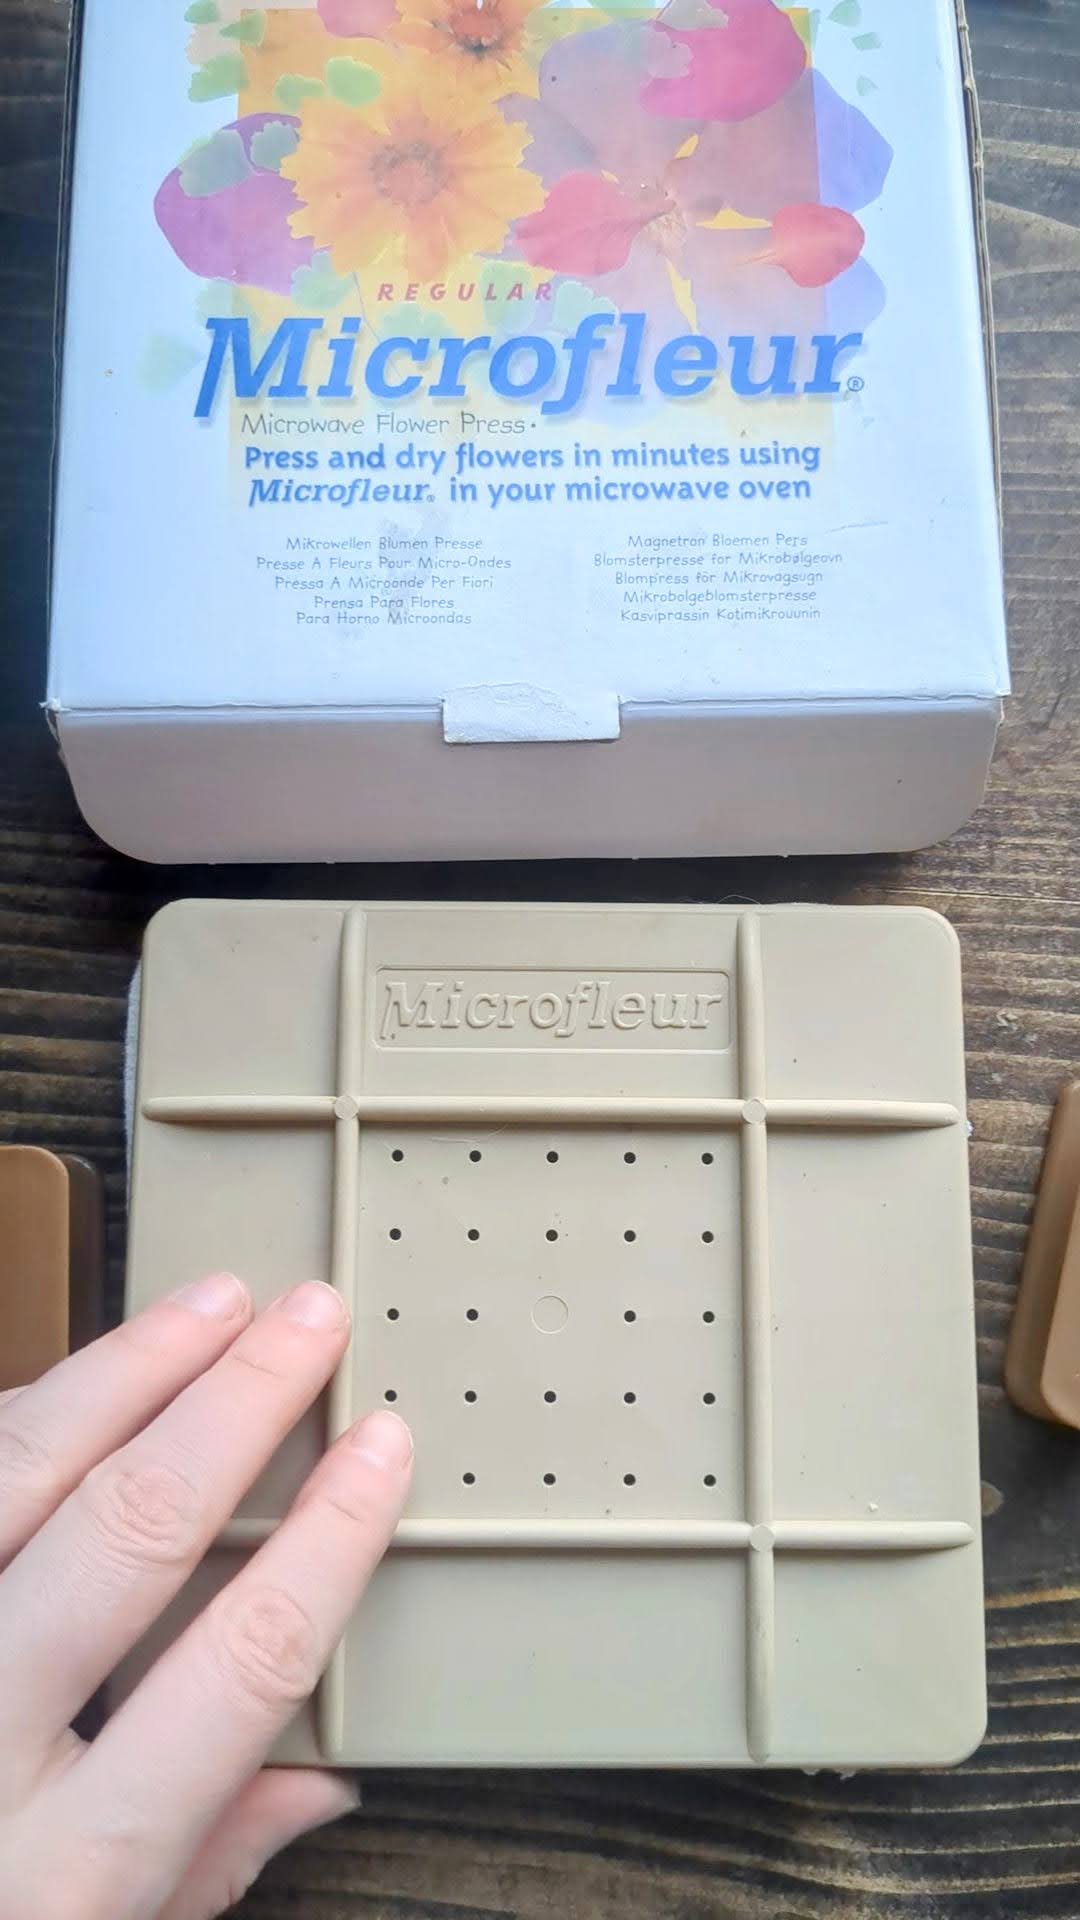
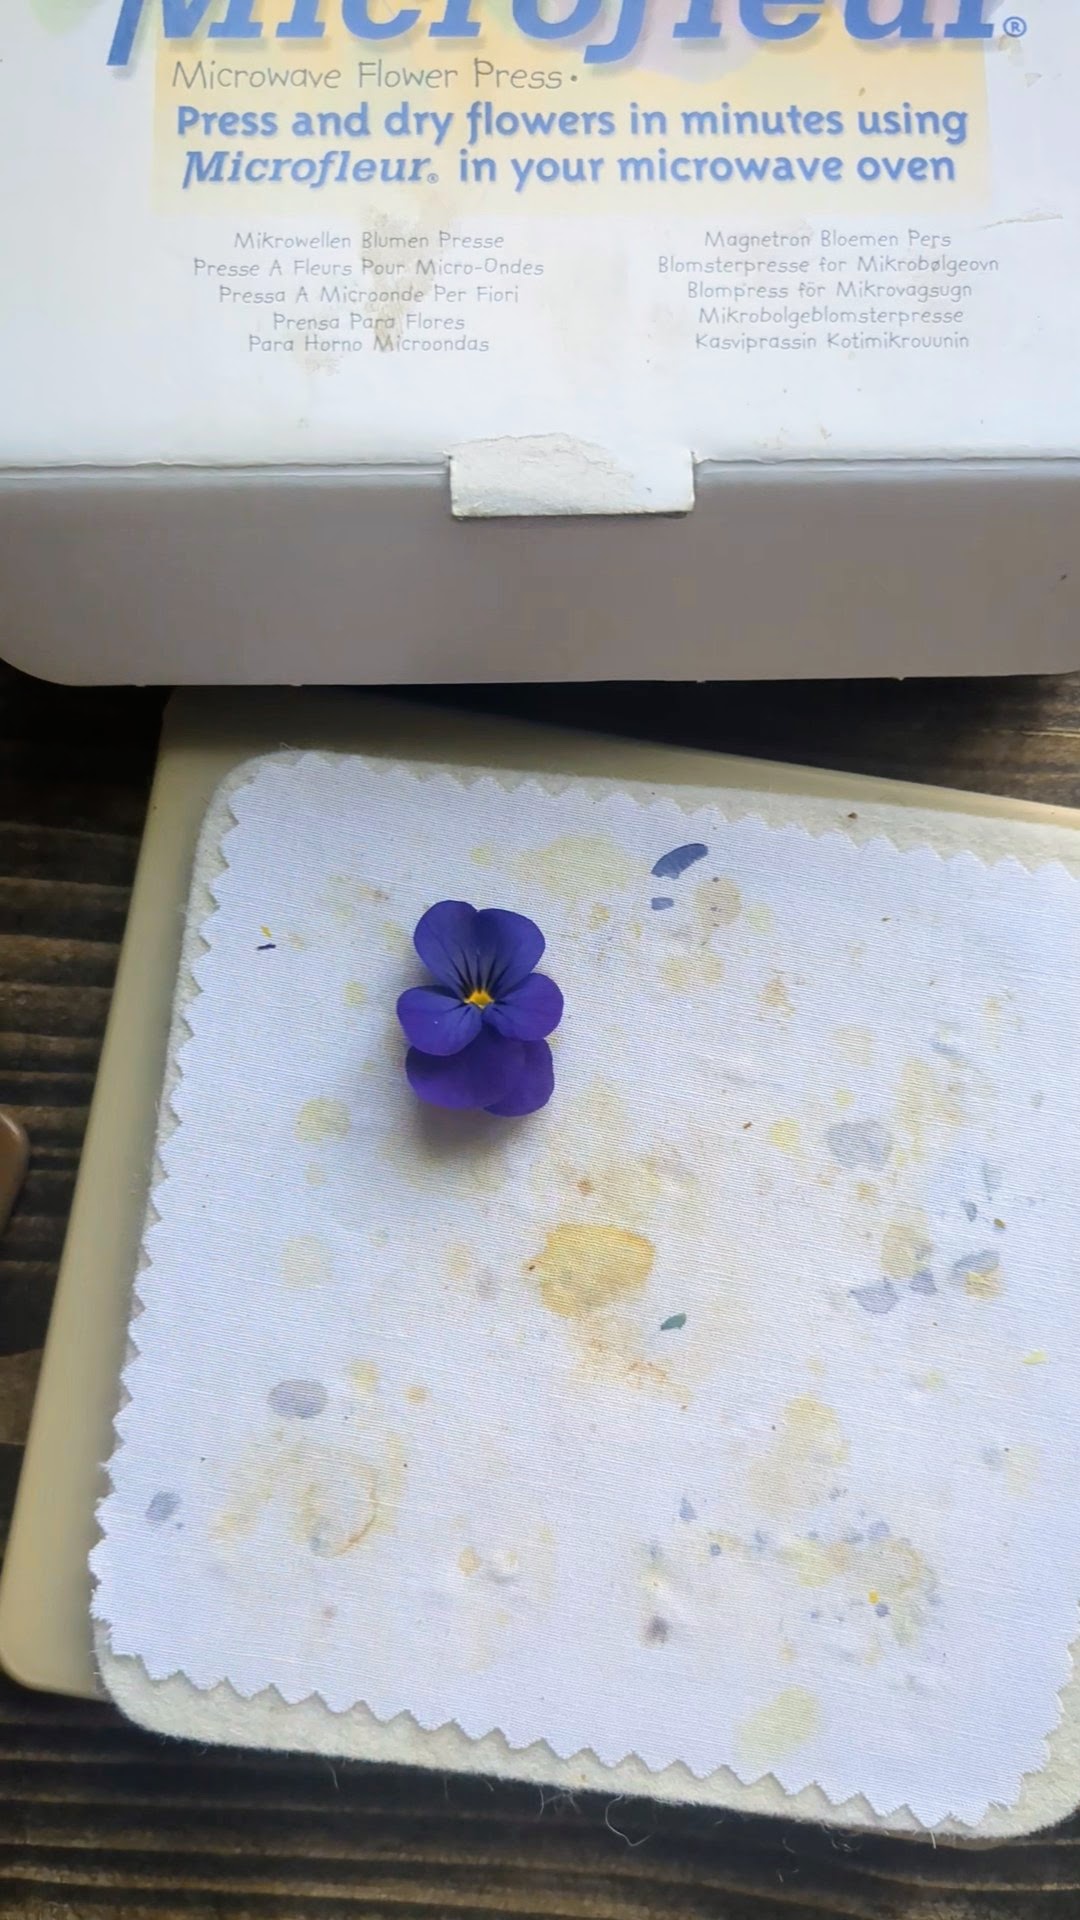
Begin this Pressed flower card tutorial by gathering a few small, fresh violas from your garden. To preserve their colour and shape beautifully, I used the Microfleur microwave press. It’s my go-to tool for flower pressing — incredibly fast and keeps the colours so vibrant compared to traditional methods. Your flowers will be pressed and ready to use in just a few minutes!
2. Prepare Your Card
Choose a blank white card or cut your own from cardstock. Make sure the surface is smooth and clean.
3. Stamp and Emboss
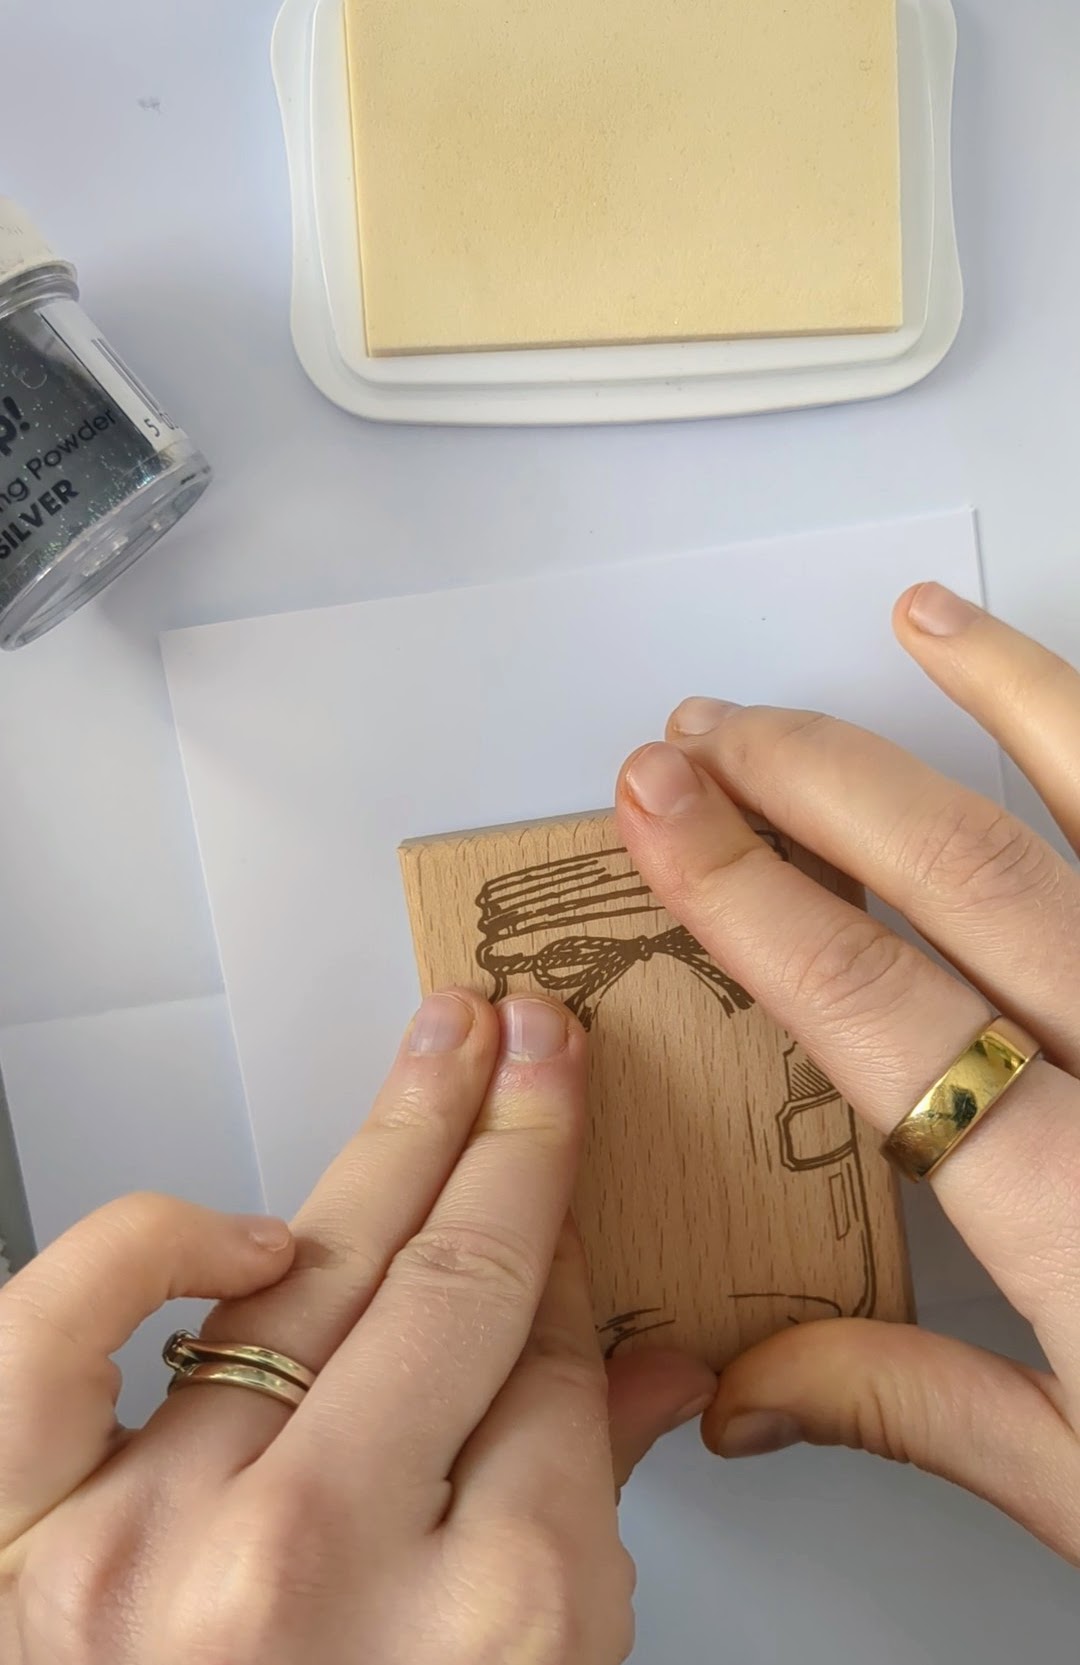
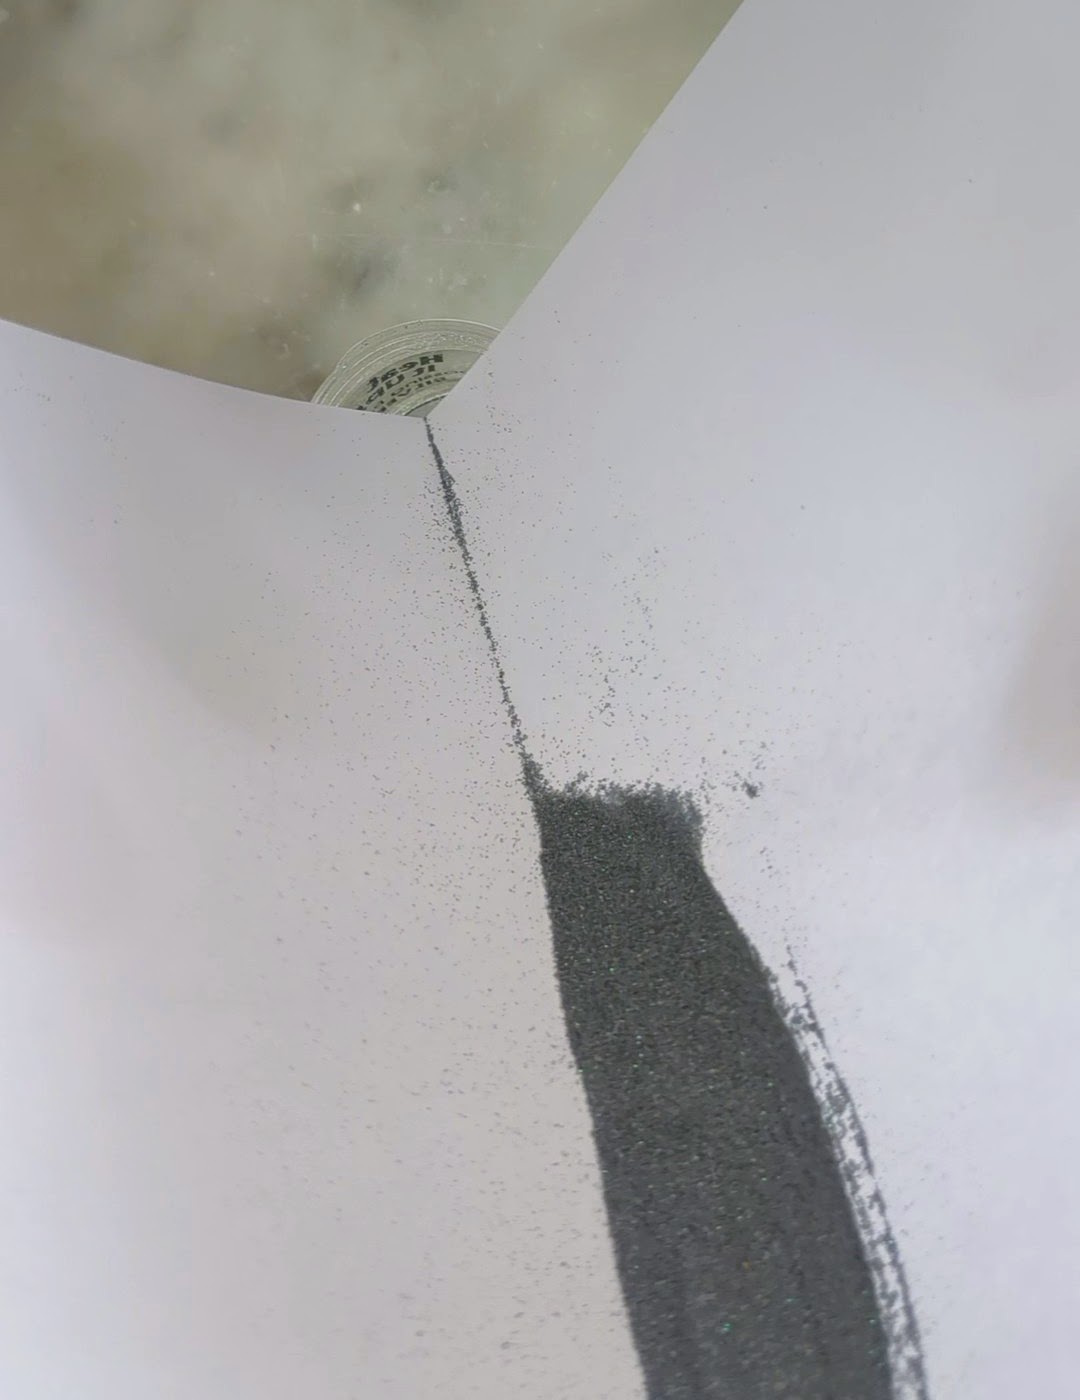
Fold a piece of scrap paper in half and place it under your card. Using the beautiful glass bottle background stamp, apply clear embossing ink and stamp it onto the centre of the card.


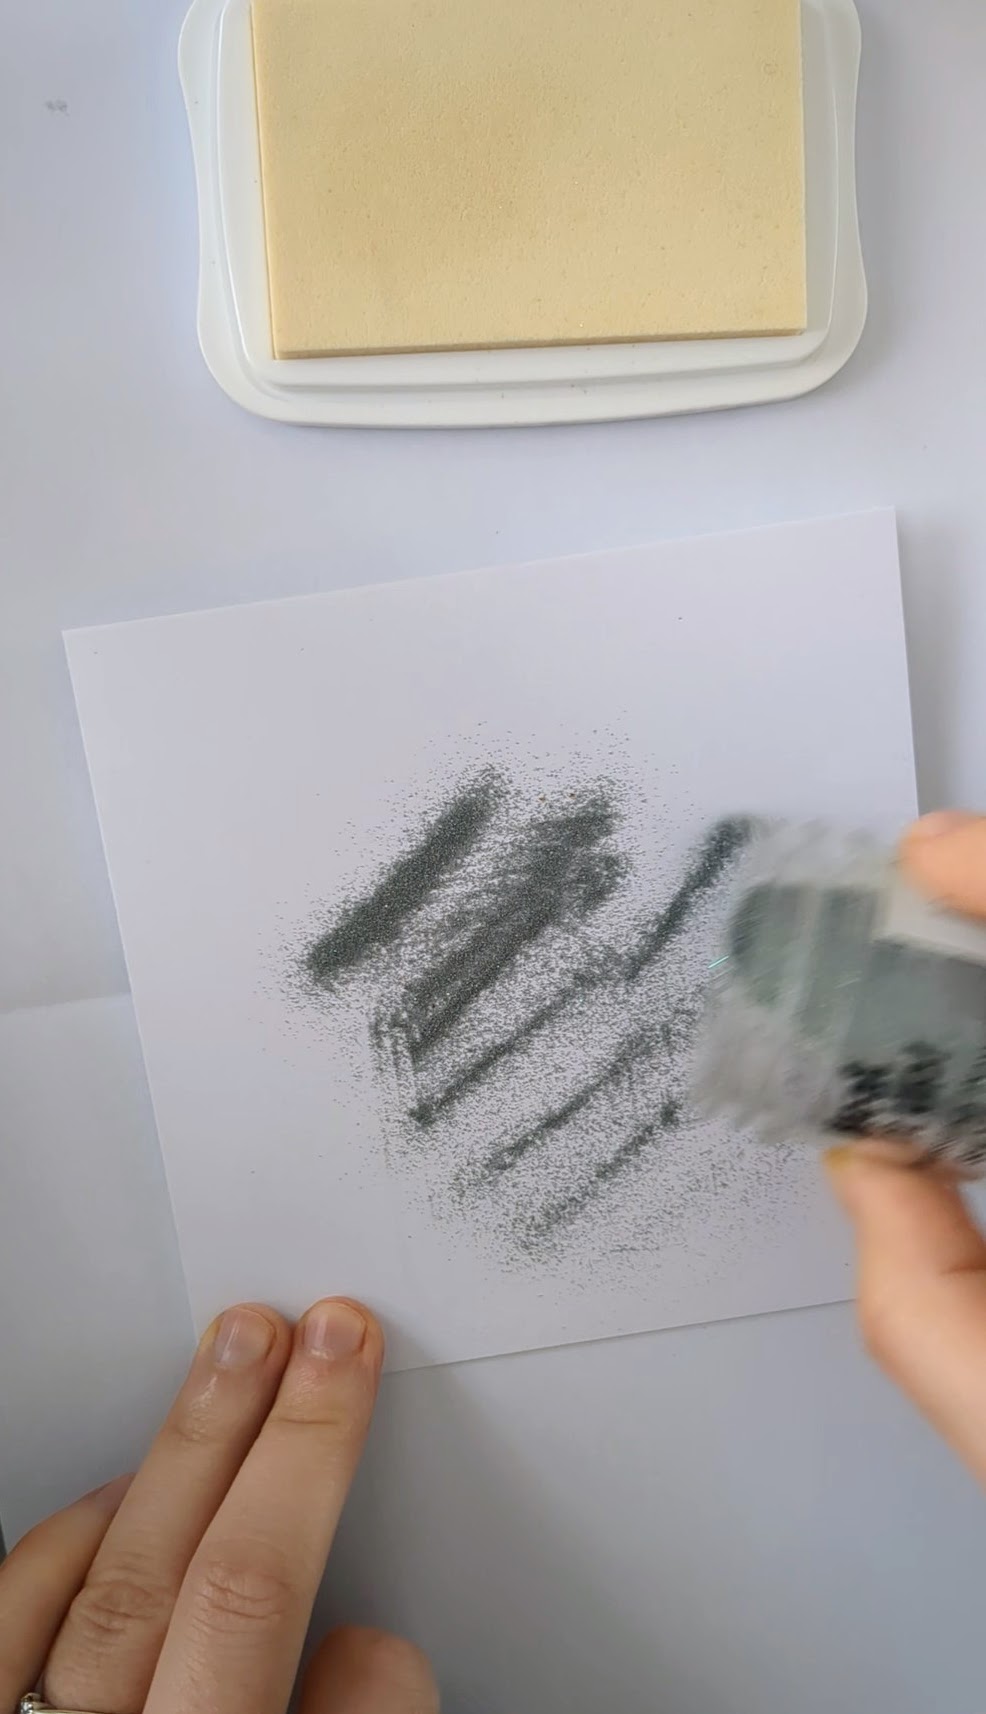
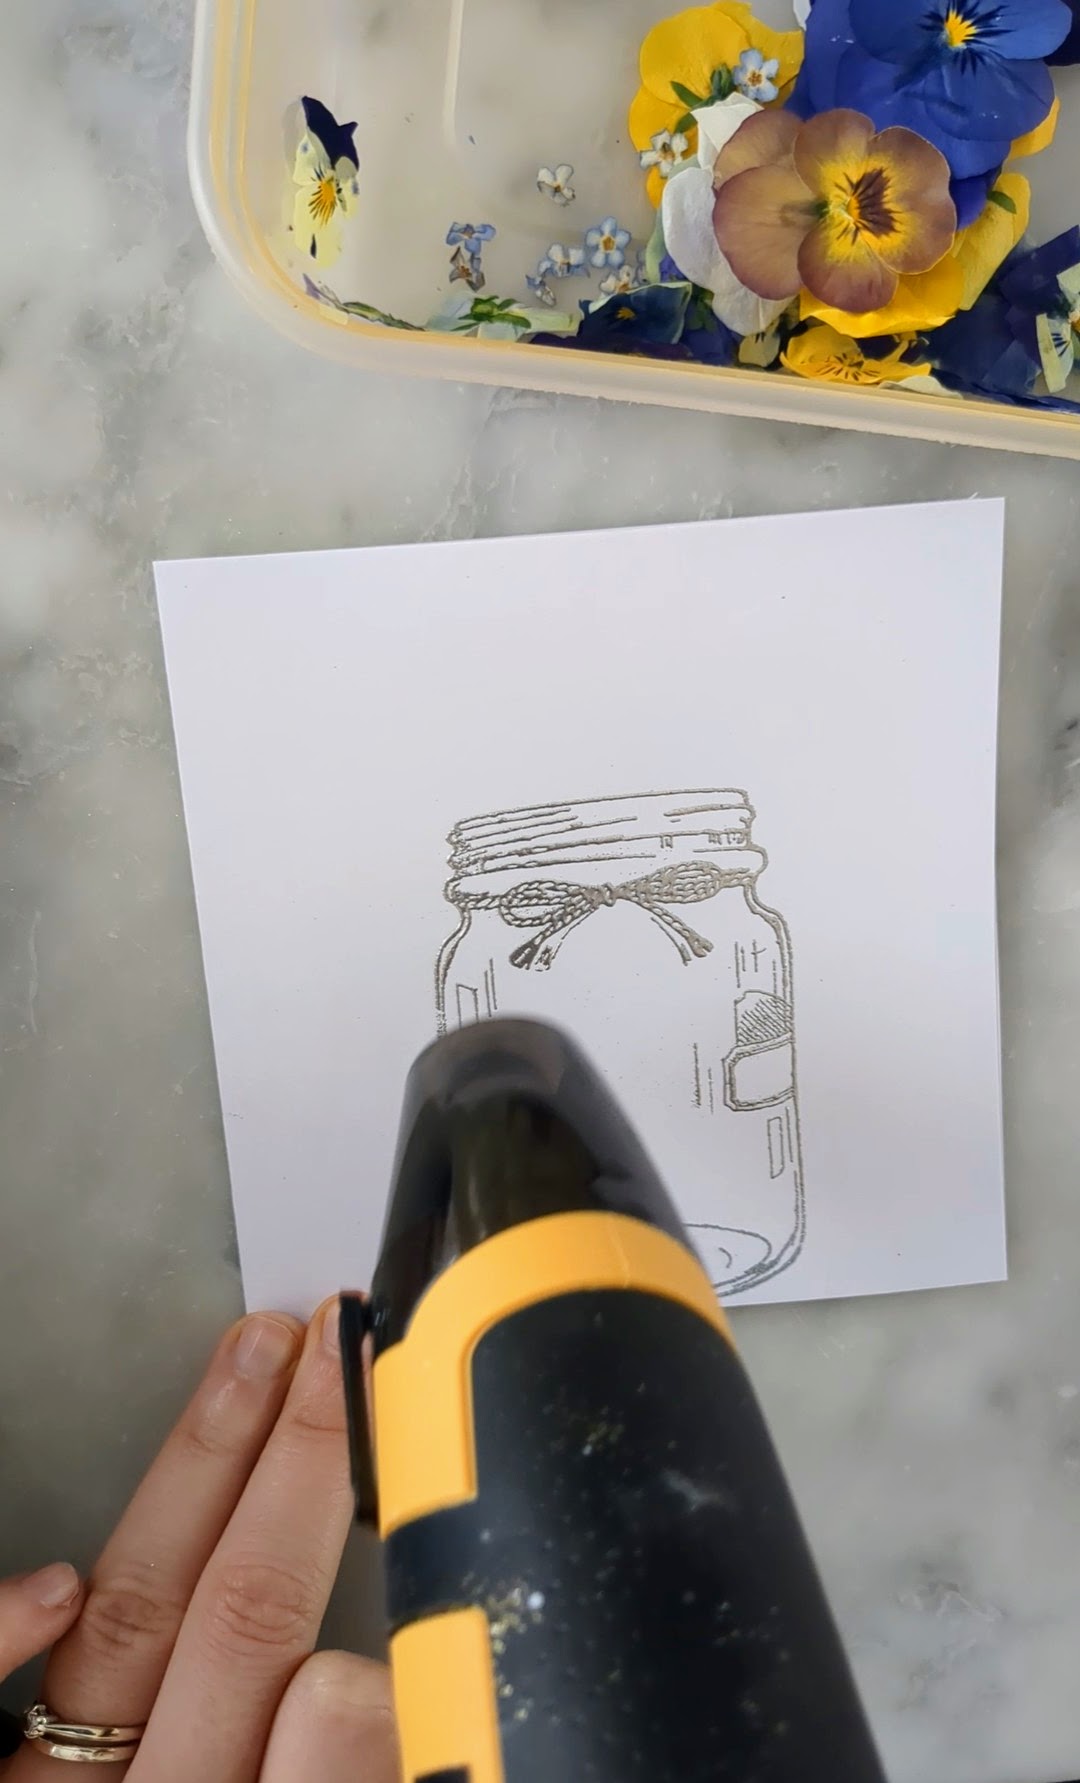
Quickly sprinkle over the silver embossing powder, tap off the excess onto the scrap paper below, and use a dry brush to tidy up any bits of powder that you don’t want to remain. Now its time to use your mini heat gun to melt the powder. This little tool is compact and powerful — I’m completely obsessed! Watching the powder melt into that glossy, raised design is honestly magical. Don’t forget to pour your left over embossing powder back into the pot.
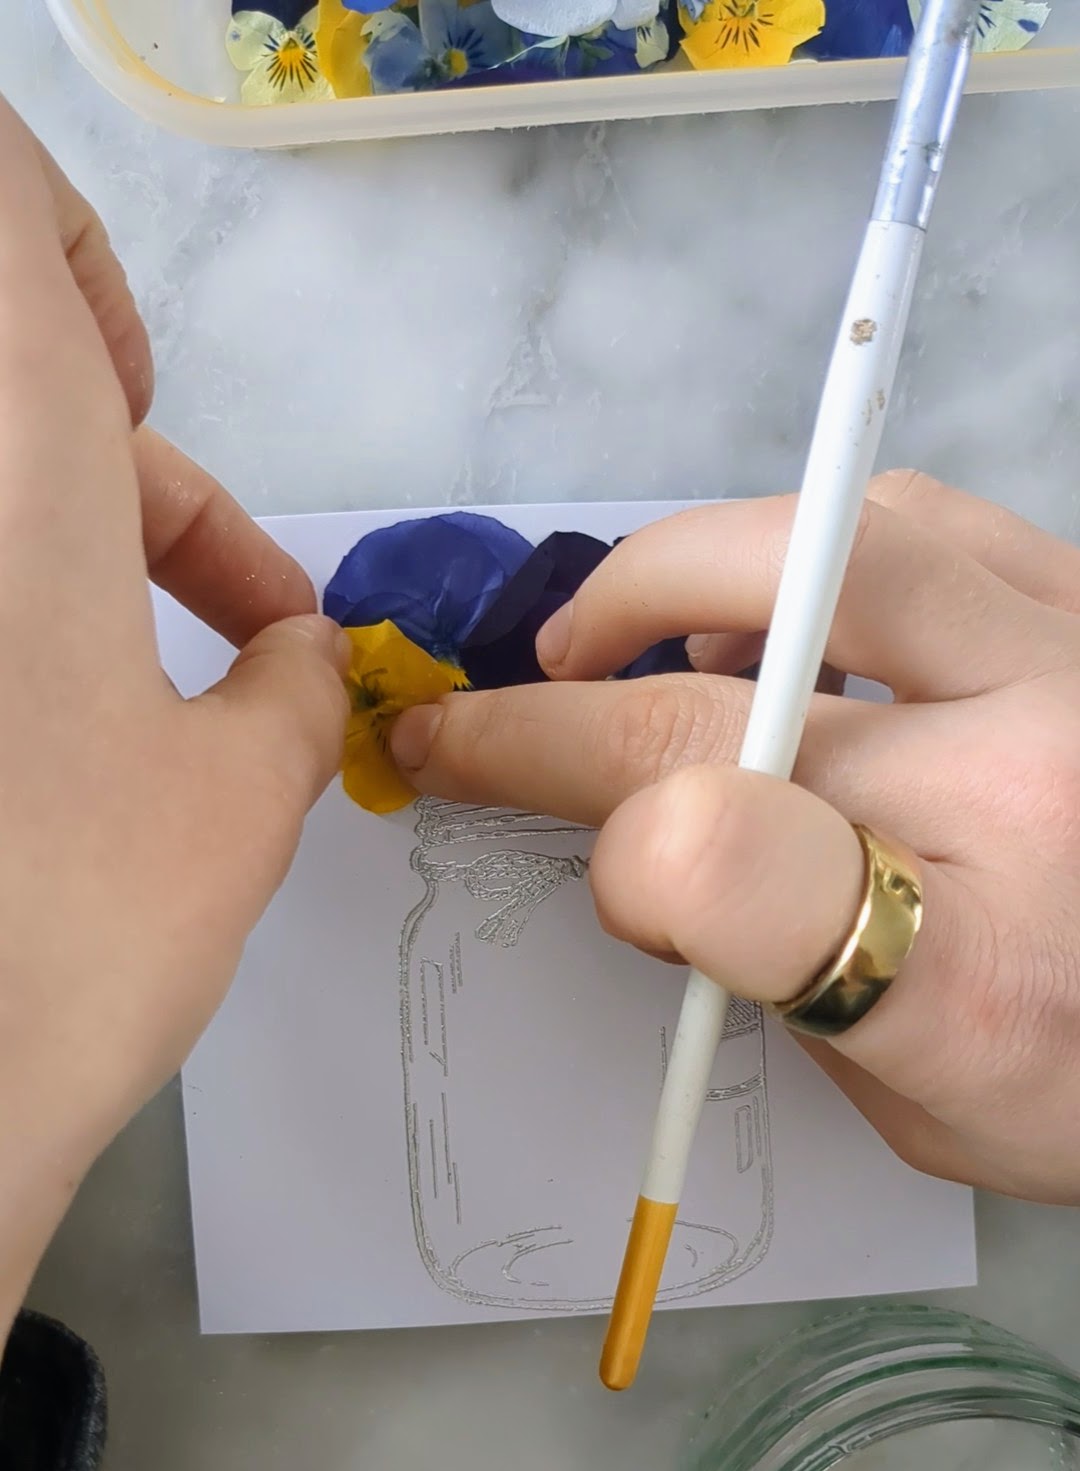
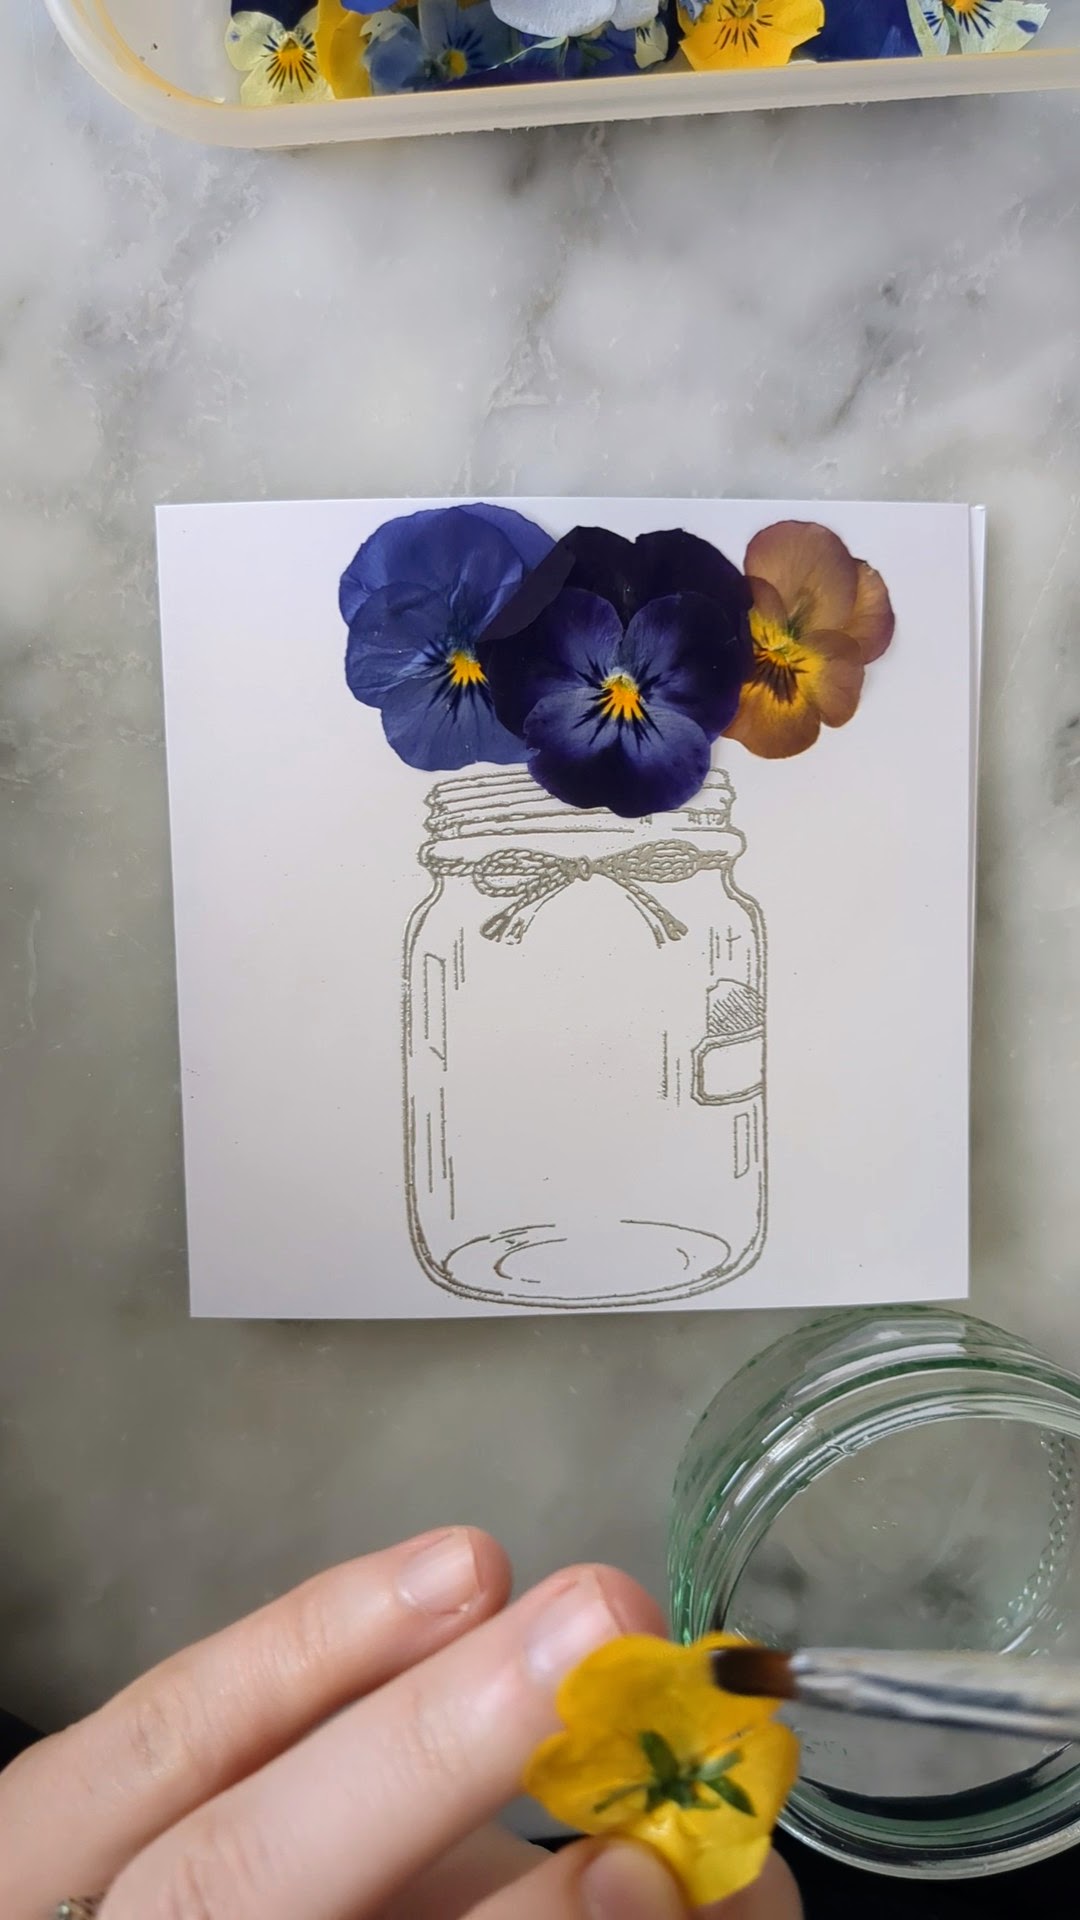
4. Add the Pressed Flowers
Once your embossed jar design has cooled, it’s time to add your flowers. Carefully arrange the pressed violas at the top of the jar, giving the effect of a little bouquet. When you’re happy with the placement, secure them with a small amount of PVA glue on the back of each petal. Be gentle — the flowers are delicate!
5. Paint in the Details
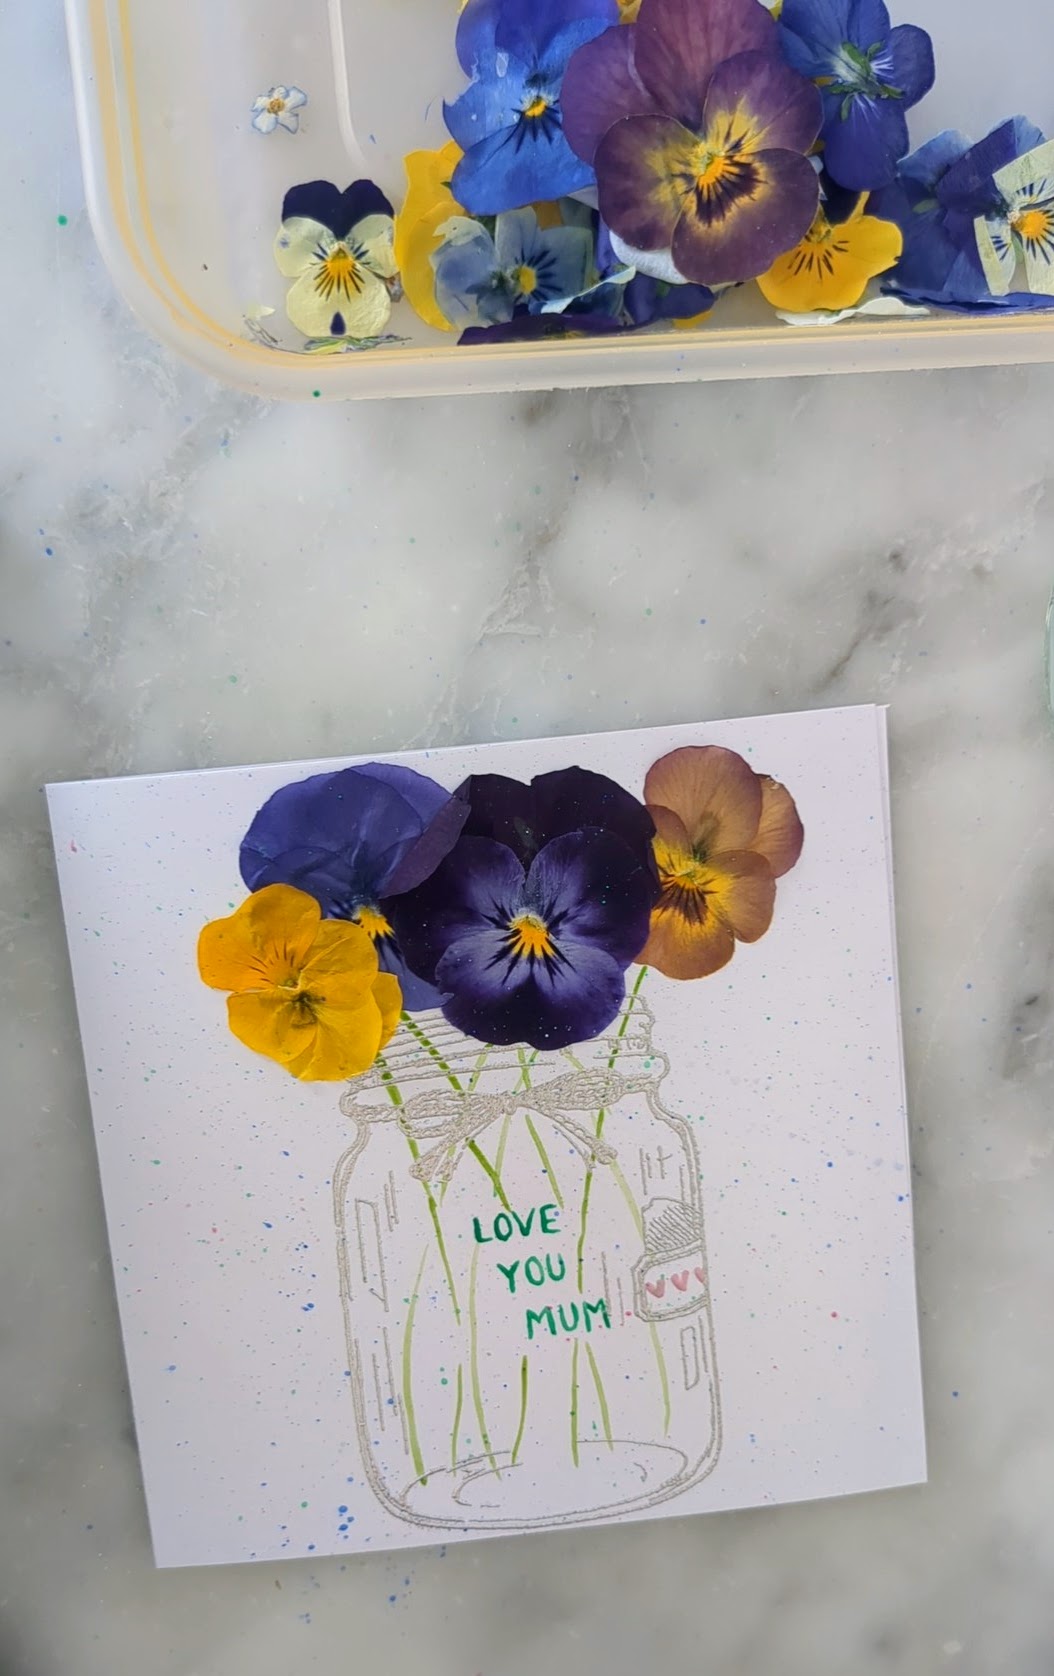
With a fine brush and some green watercolour paint, add stems to connect your violas to the jar. It doesn’t have to be perfect — a loose, sketchy style works beautifully.
Then, using a fine brush or pen, write your message inside the jar. I went for “LOVE YOU MUM” but you could personalise it with her name or a birthday greeting.
Finish the card with a few playful flicks of paint to give it an artistic, handmade charm.
That’s It!
And just like that, you’ve made a completely unique, heartfelt card that’s sure to be treasured. This project is so satisfying — it combines crafting, gardening, and a bit of artistry all in one. Whether it’s for Mother’s Day or just to show your love, it’s the kind of thing mums keep forever.
If you enjoyed this project, you might also love my tutorial on how to make a handmade Valentine’s Day card using similar simple stamping and painting techniques.
I hope this pressed flower card tutorial inspires you to get creative with your garden blooms and try making your own handmade keepsakes. Let me know if you try it! Tag me over on Instagram @lets_strikeapose so I can see your creations 🌸