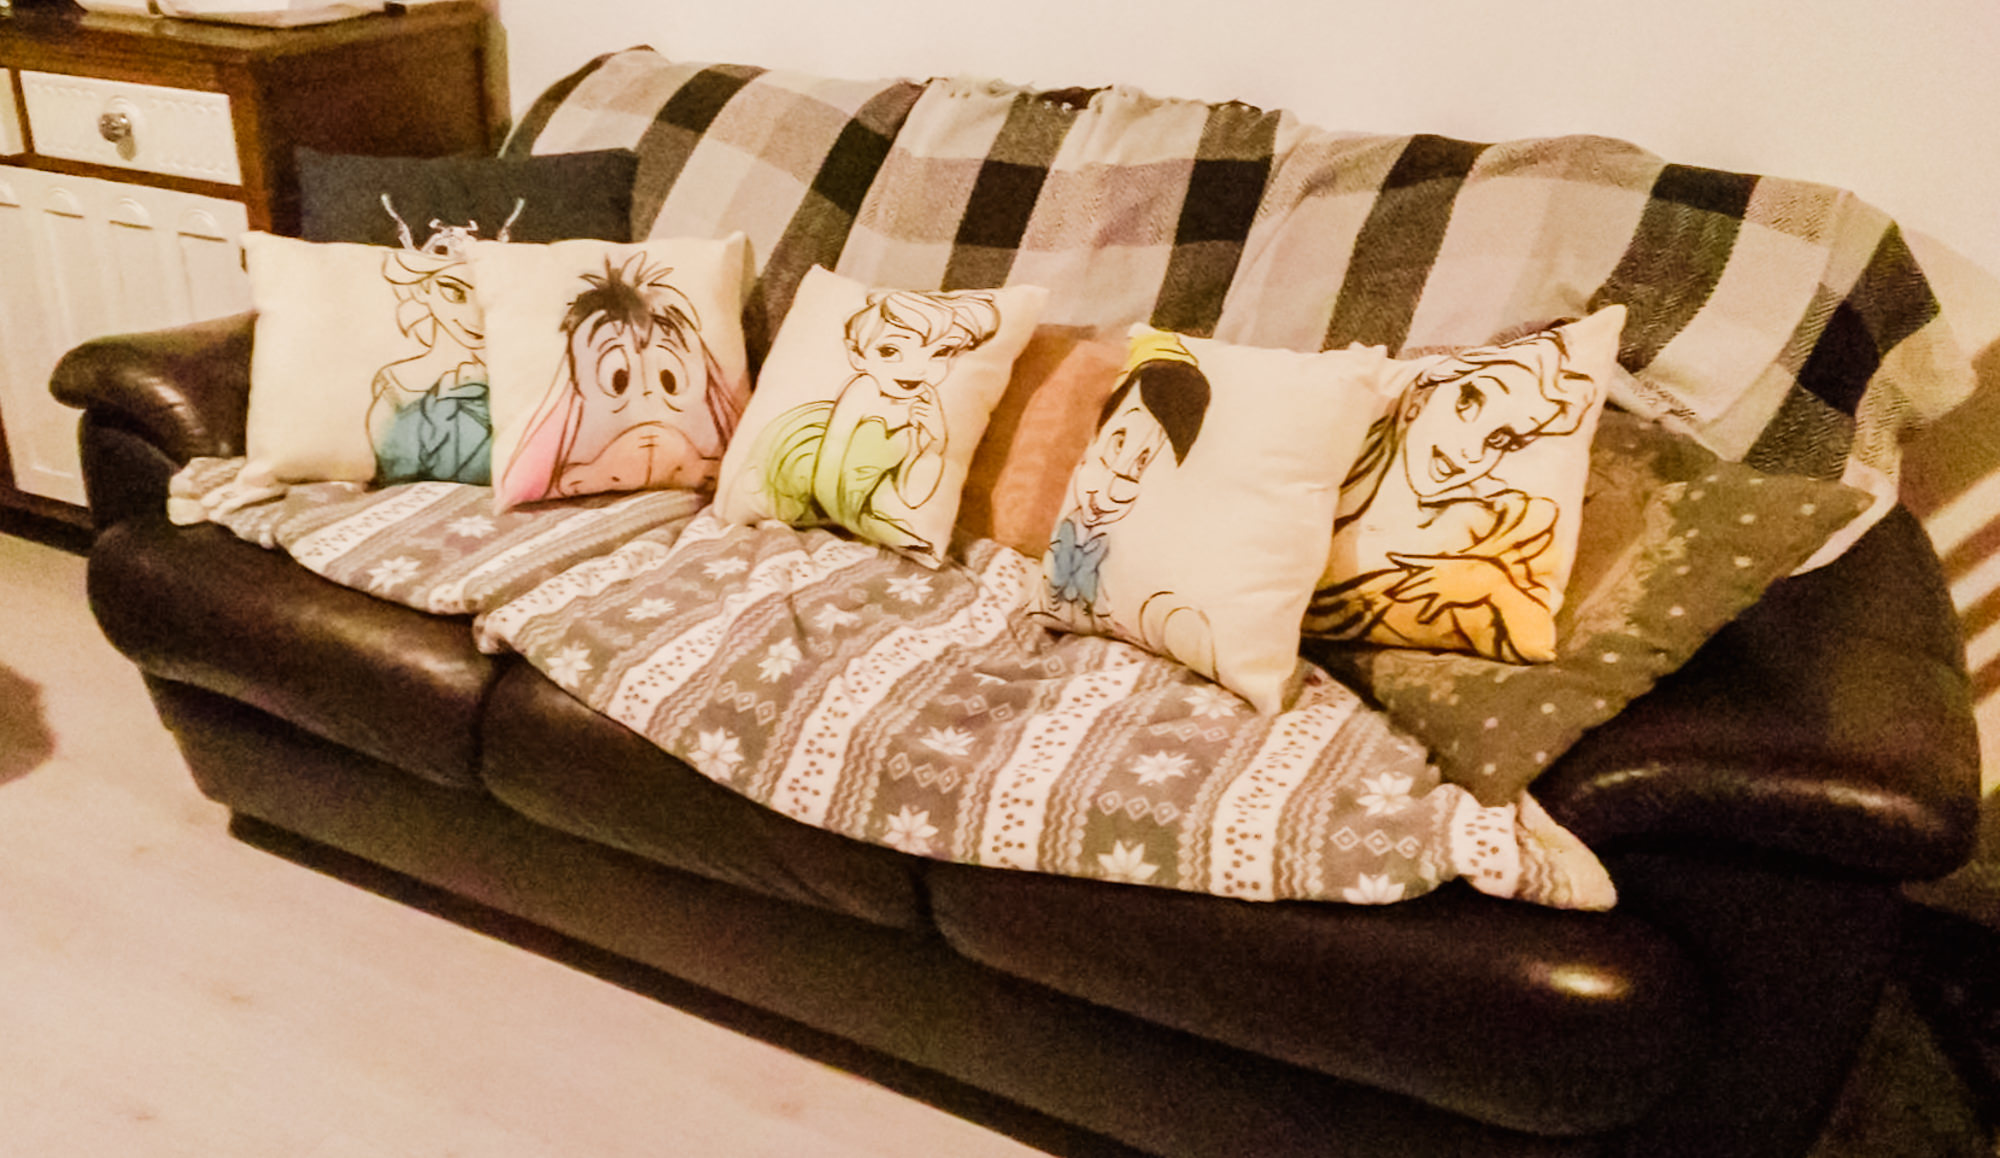
I have had a very productive weekend producing my Disney DIY cushion collection. They were very simple to do and also very cheap as the material comes from £1 tote bags that you can pick up in Poundland. They can also be found on eBay here if you cannot get to a Poundland or if there are none in stock (but are more expensive).
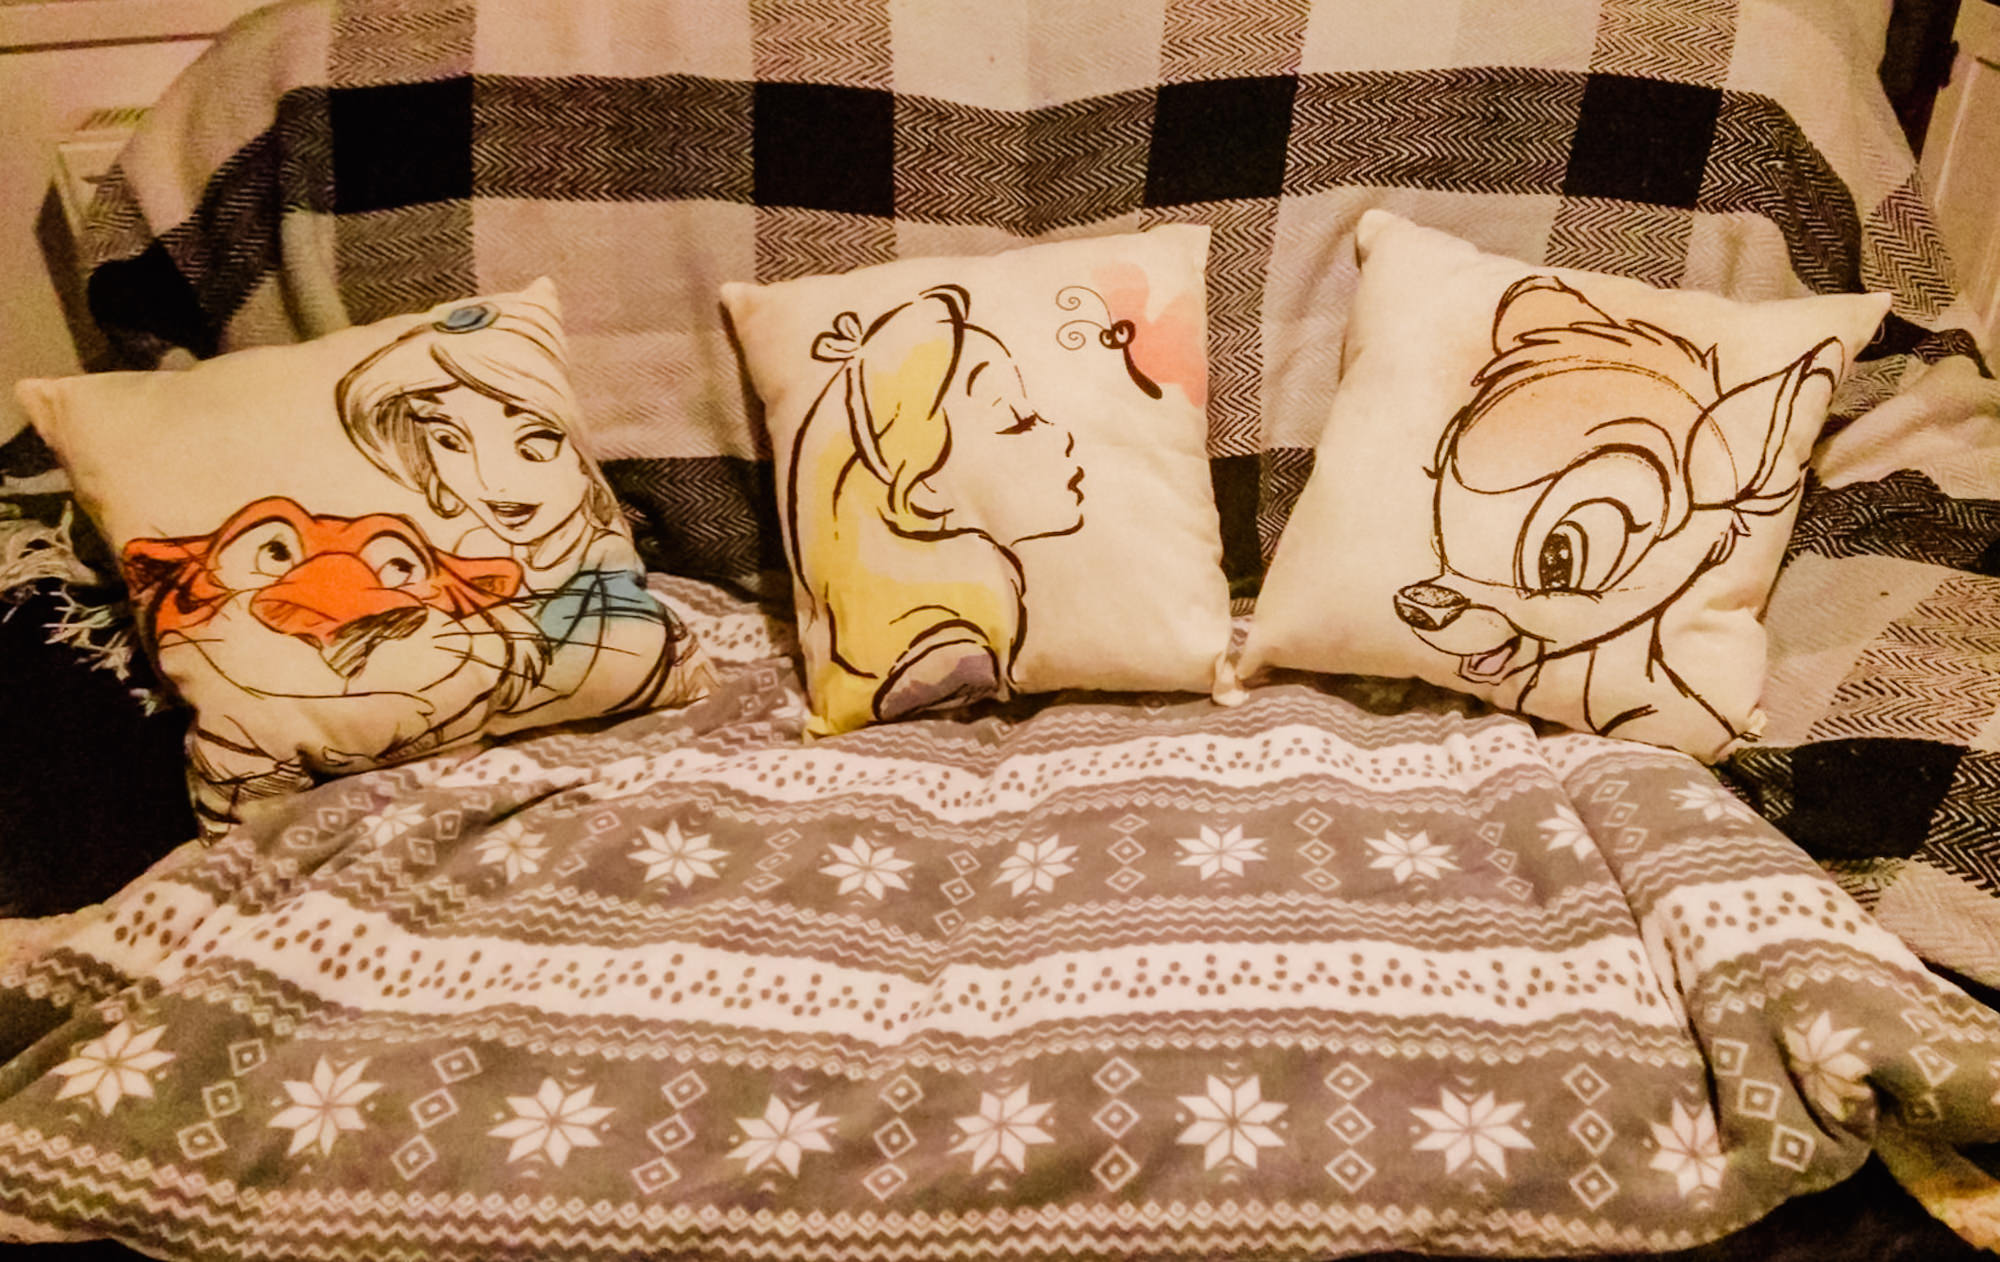
My niece is five this Saturday which sparked this idea after finding Elsa and Olaf Frozen designs to make for her. There are plenty of bags to collect; I am still on the look out for Minnie Mouse and Ariel. They are all a little different and have a hand drawn illustration look that I love with just a splash of colour.
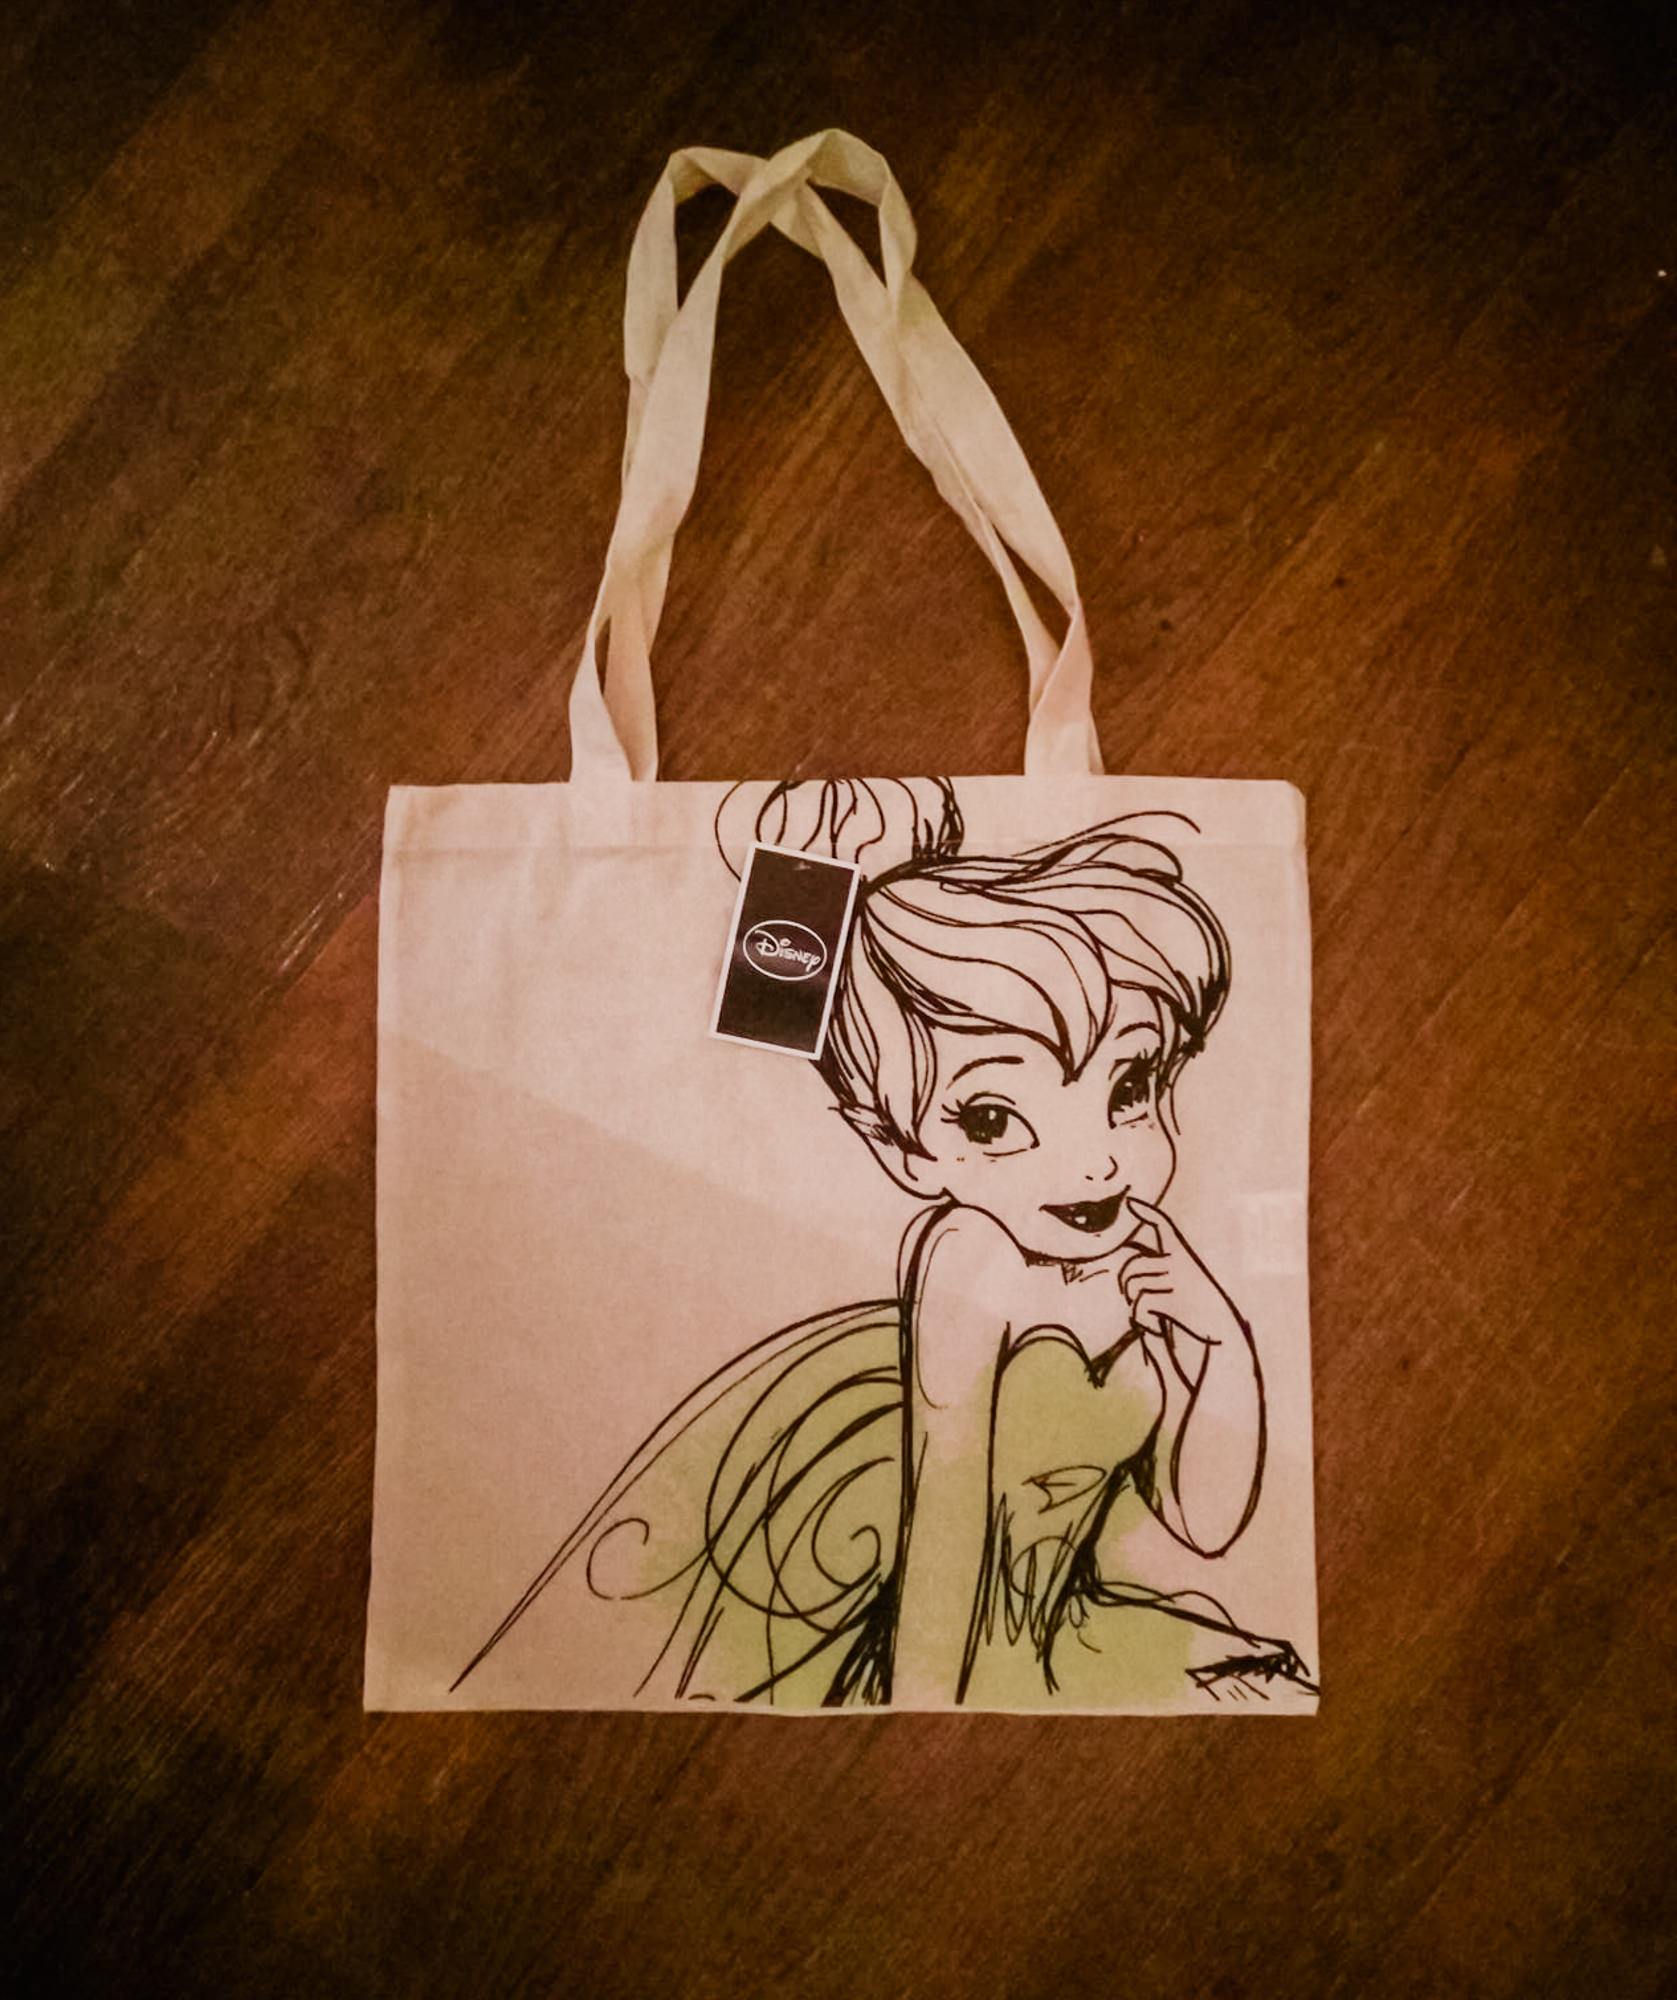
For stuffing, I, of course, looked to Amazon and completely overestimated the quantity required. 10kg would probably do I thought – my ten cushions used around 1/6… oops! Still very cheap and I am now looking to revamp and fluff up my Mums sofa and cushions with the remaining stuffing which is lovely and very soft.
I had thought about using cushion fillers but it is far more expensive, and I wanted them to be well filled and super snuggly.
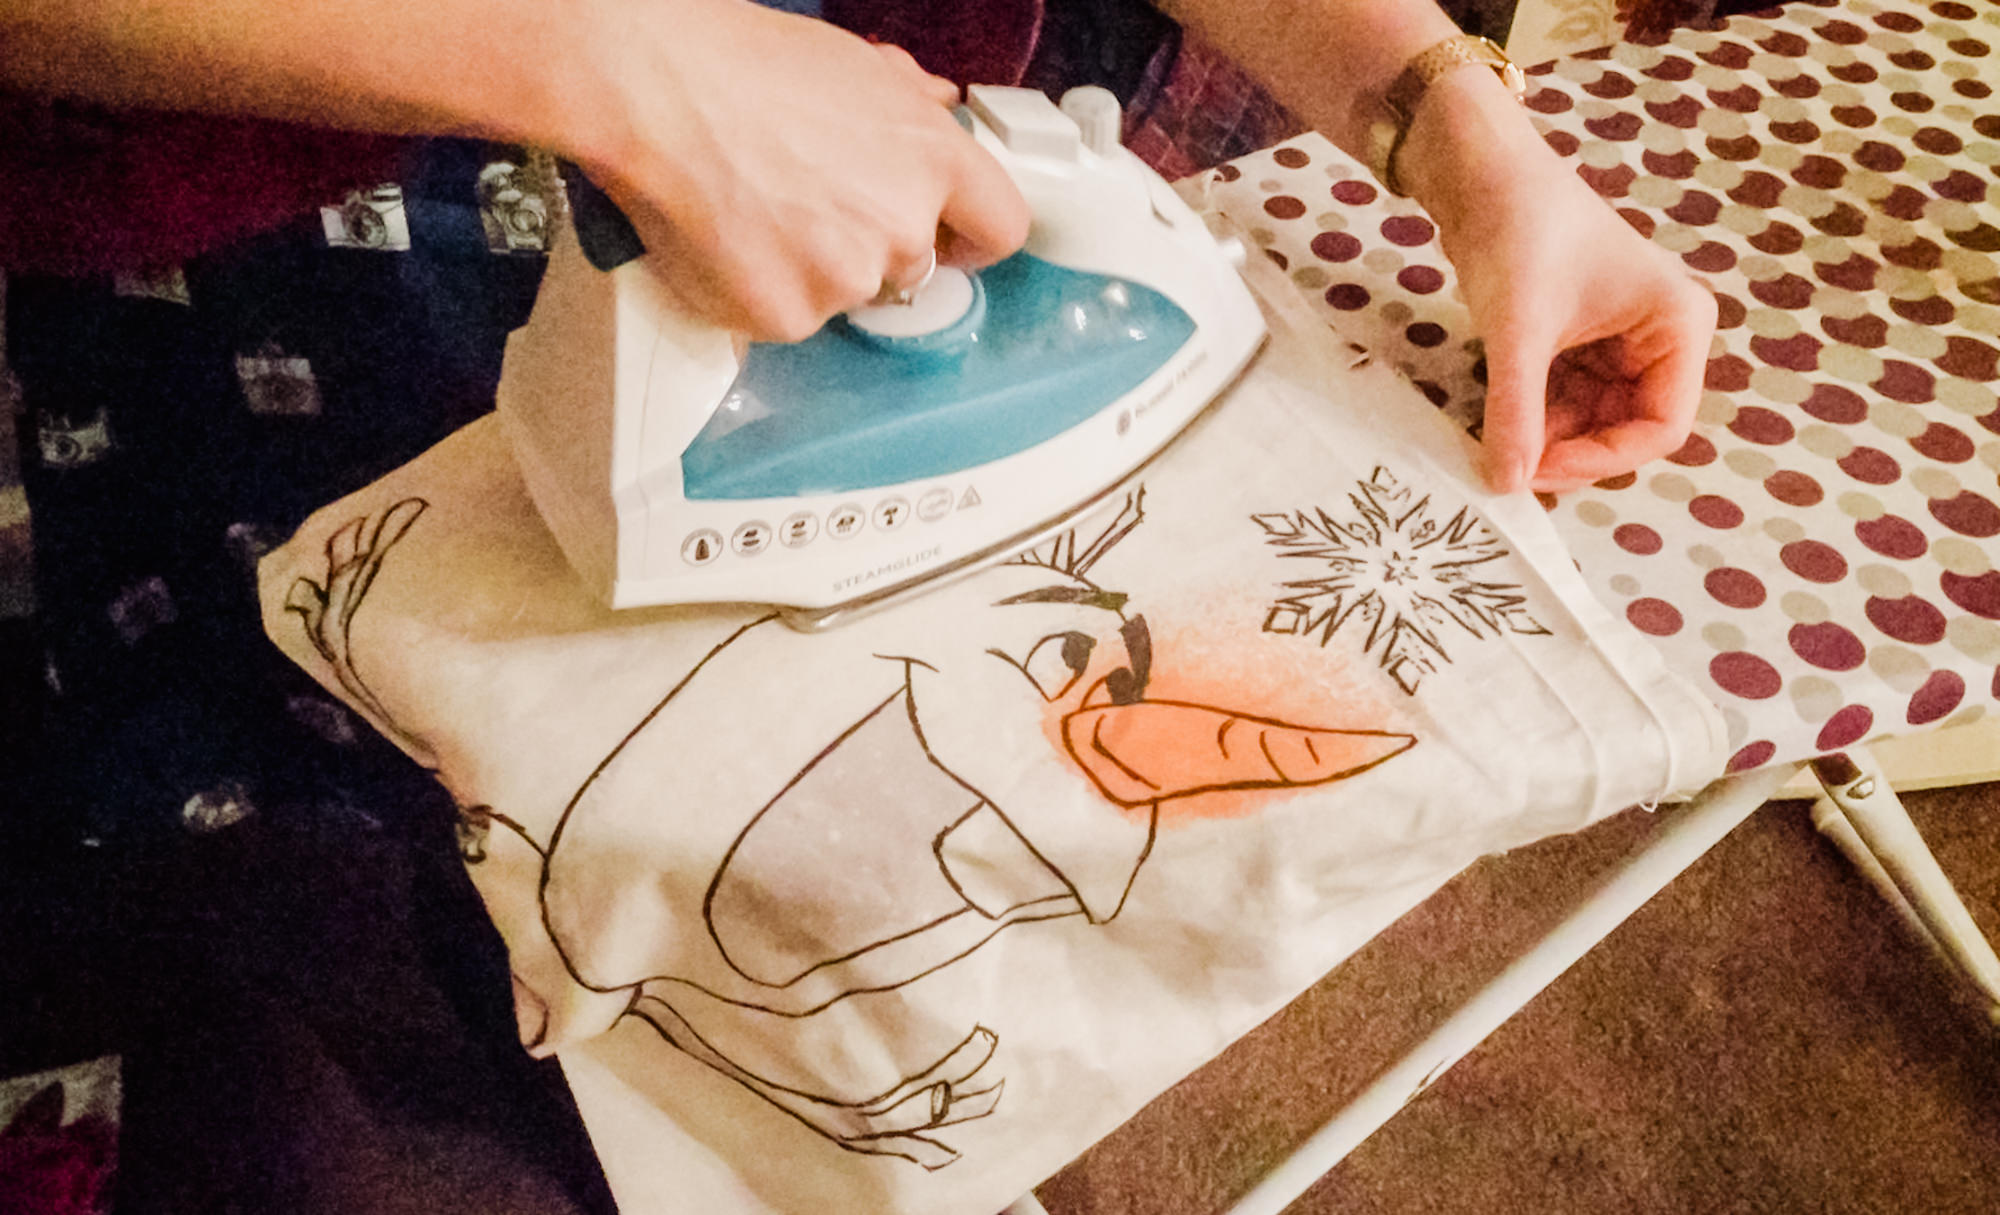
To start, I unpicked all of my handles and upper stitching then ironed the fabric flat. I then turned the tote bag/DIY cushion cover inside out and used my sewing machine – although hand stitching and patience would do the job too! Sew from the outer corners to the middle and leave a gap in the centre. It is far easier hand sewing the middle section up at the end rather than a corner.
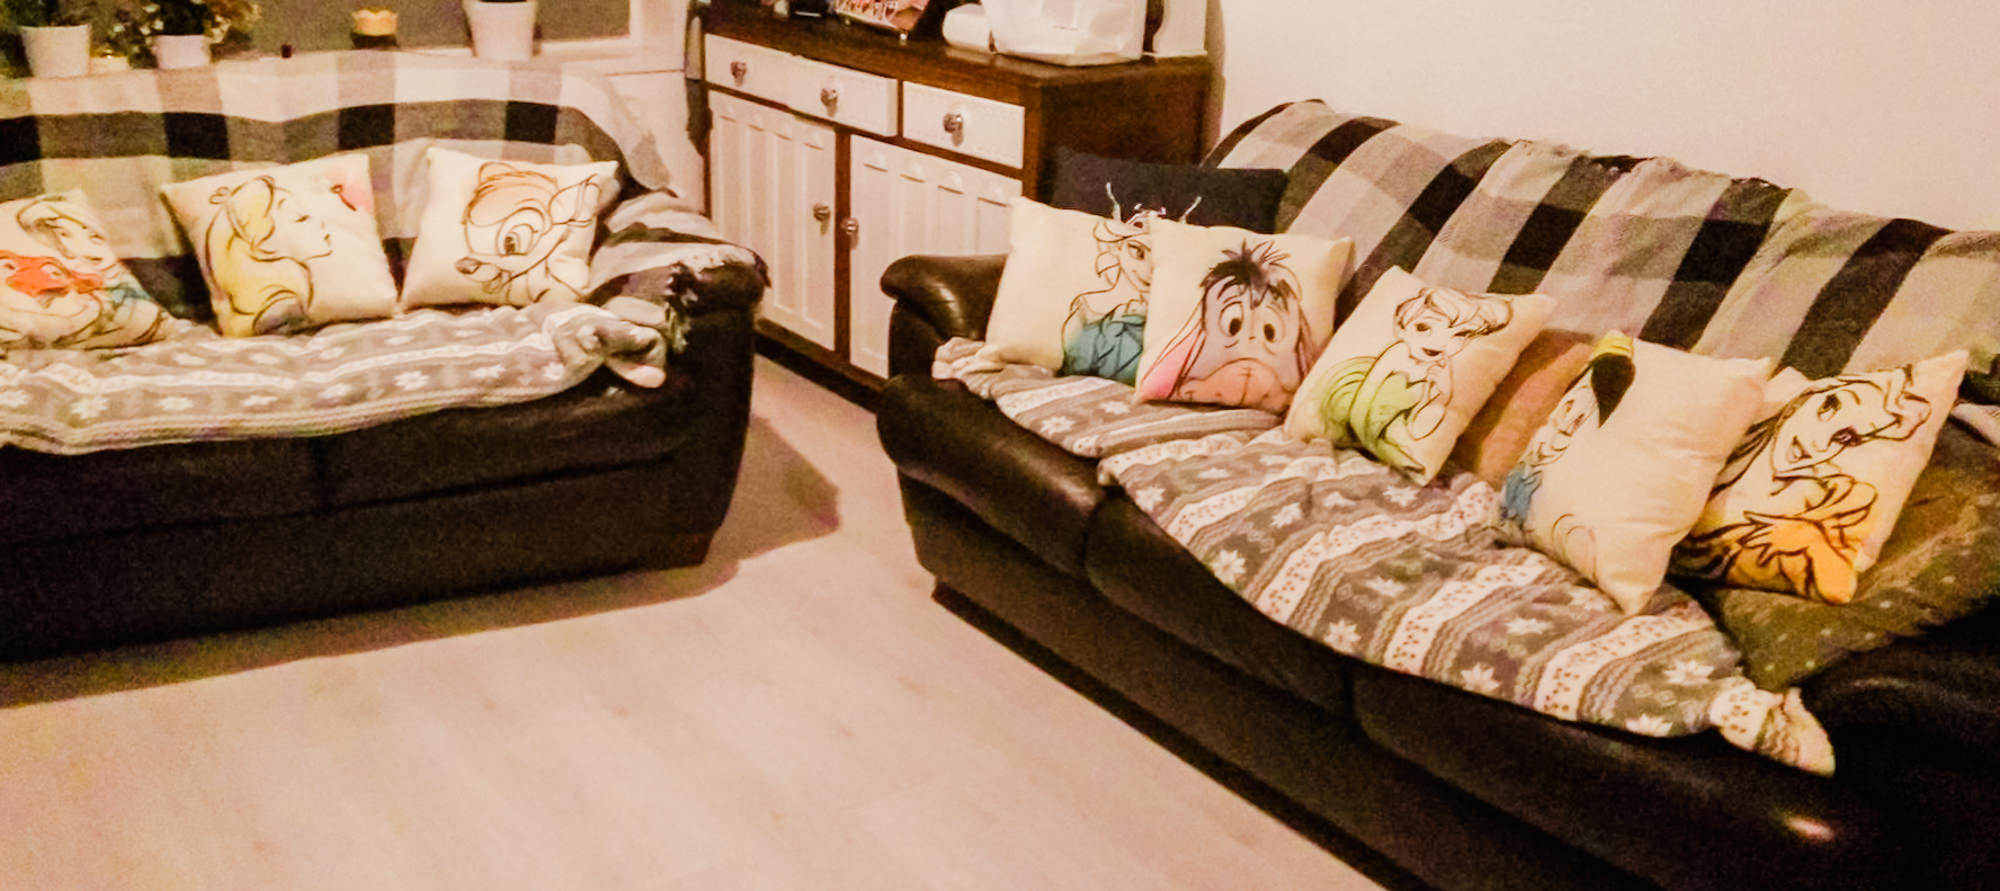
Turn the DIY cushion cover/tote bag back the right way and begin stuffing. Once happy with the shape and fullness take a needle and thread and sew up the centre. Definitely a superior restoration! If you hate sewing, you can always buy cushion fillers and then cut and tie the handles into bows for a no-sew technique!
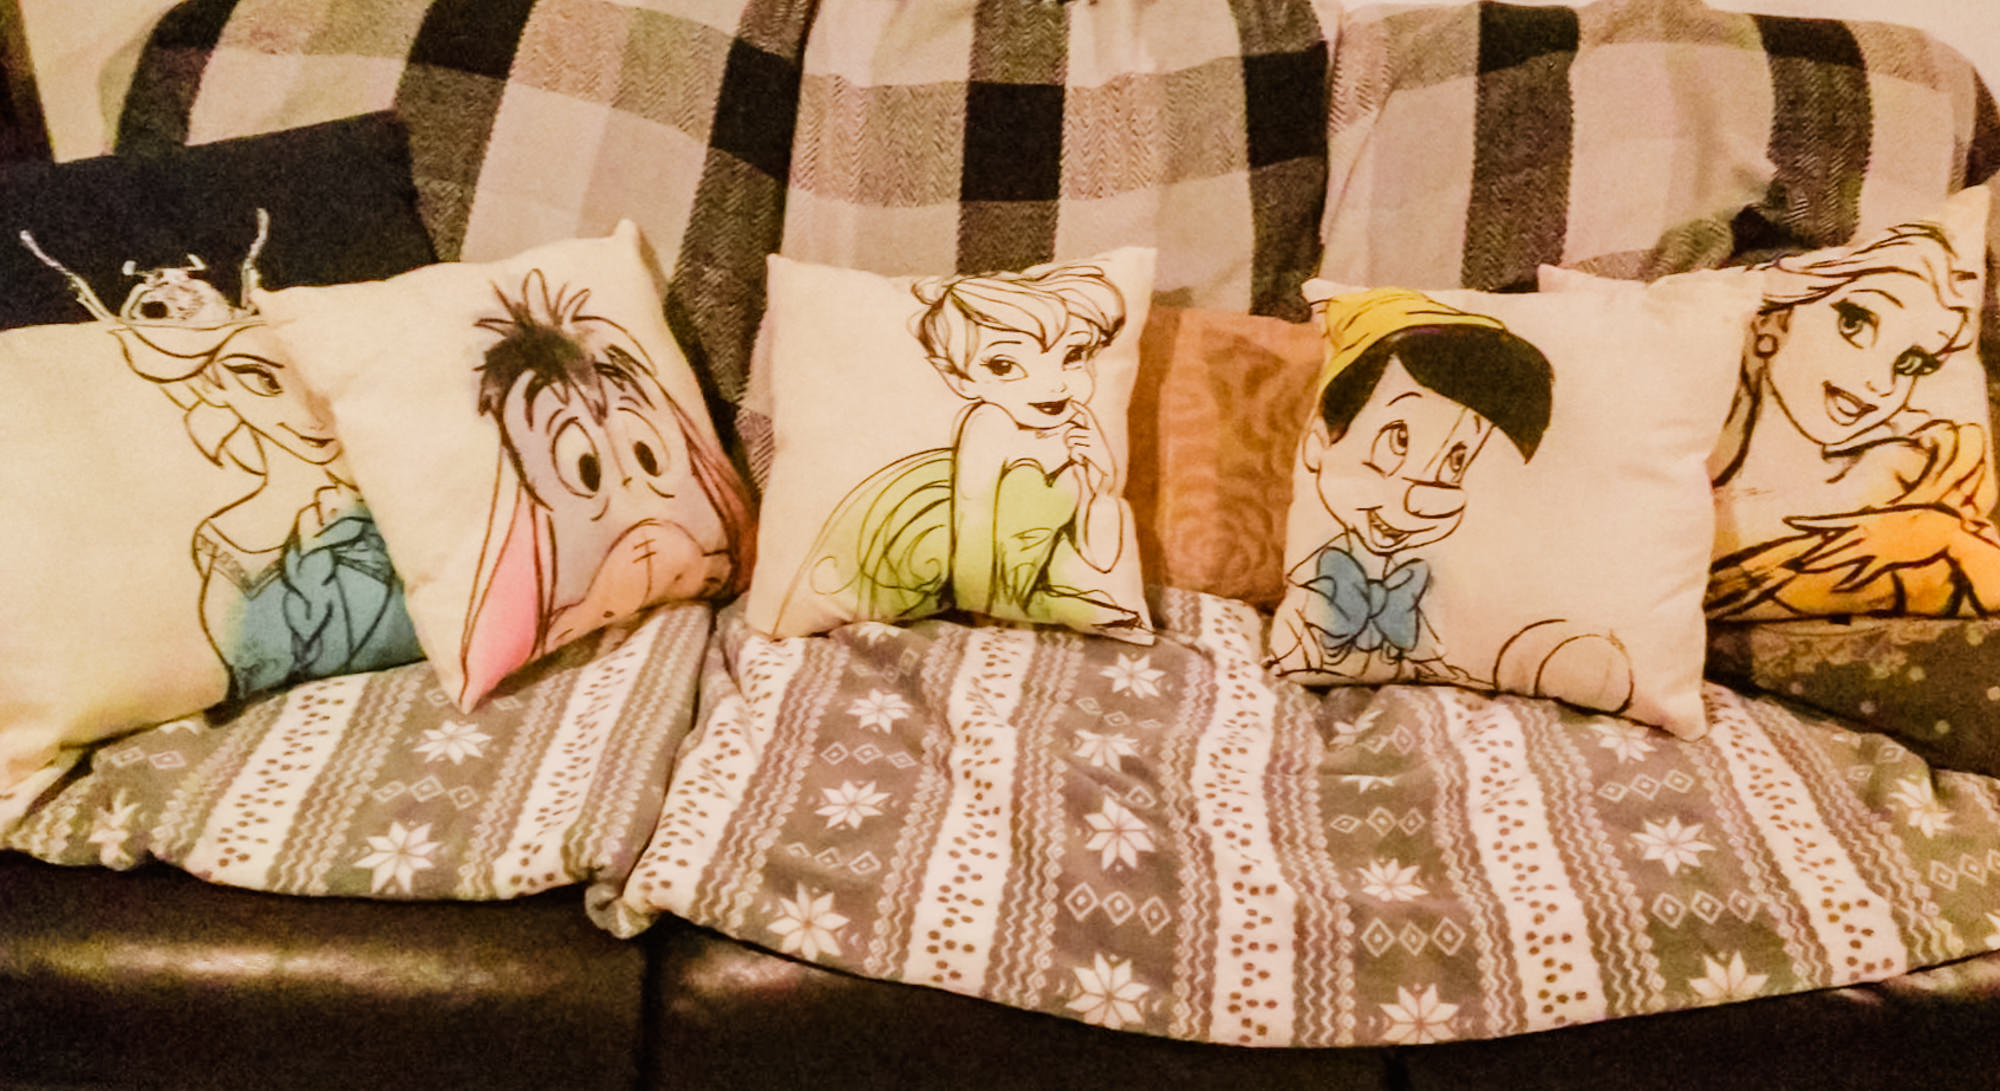
I hope you enjoy my DIY, be sure to check out my other DIY ideas here.

oh my god I seriously LOVE this!! anything disney is an absolute winner for me!! xo
Such a good DIY =] go you
Hi, I loooove this. What’s the name of the stuffing that you used?