
Valentine’s Day is just around the corner, and what better way to express your love than with a watercolour handmade Valentine’s Day card? Valentine’s Day is the perfect occasion to express love and appreciation for your special someone. While store-bought cards are nice, nothing beats the personal touch of a handmade Valentine’s Day card. Crafting your own card adds a personal touch that store-bought versions simply can’t match. Plus, it’s a delightful way to spend an afternoon getting creative.
In this guide, I’ll walk you through the steps to create a charming DIY watercolour handmade Valentine’s Day card that’s both simple and heartfelt. If you love crafting but don’t have a ton of time or experience, this DIY watercolour handmade Valentine’s Day card is an easy yet stunning project that anyone can make. Plus, it’s budget-friendly and allows you to add a unique artistic flair!
In this step-by-step guide, I’ll show you how to create a beautiful watercolour handmade Valentine’s Day card using simple materials you likely already have at home. Let’s dive in!
Why Make a Handmade Valentine’s Day Card?
In a world of digital messages and mass-produced gifts, a handmade card stands out. Here’s why you should consider making your own:
- Personal & Thoughtful – A handmade Valentine’s Day card shows effort and love, making your Valentine feel extra special.
- Budget-Friendly – No need to splurge on expensive cards; you can make one for pennies!
- Creative & Fun – Crafting is a great way to relax and unleash your creativity.
- Eco-Friendly – Handmade Valentine’s Day cards cut down on mass-produced waste.
You don’t need to be a professional artist to create something special—simple elements like hearts, gold foil details, and handwritten messages can transform a blank card into a beautiful piece of art. Moreover, a DIY handmade Valentine’s Day card is a fantastic way to engage in a mindful, relaxing activity. Crafting has been proven to reduce stress, increase happiness, and boost creativity, making it a rewarding process in itself.
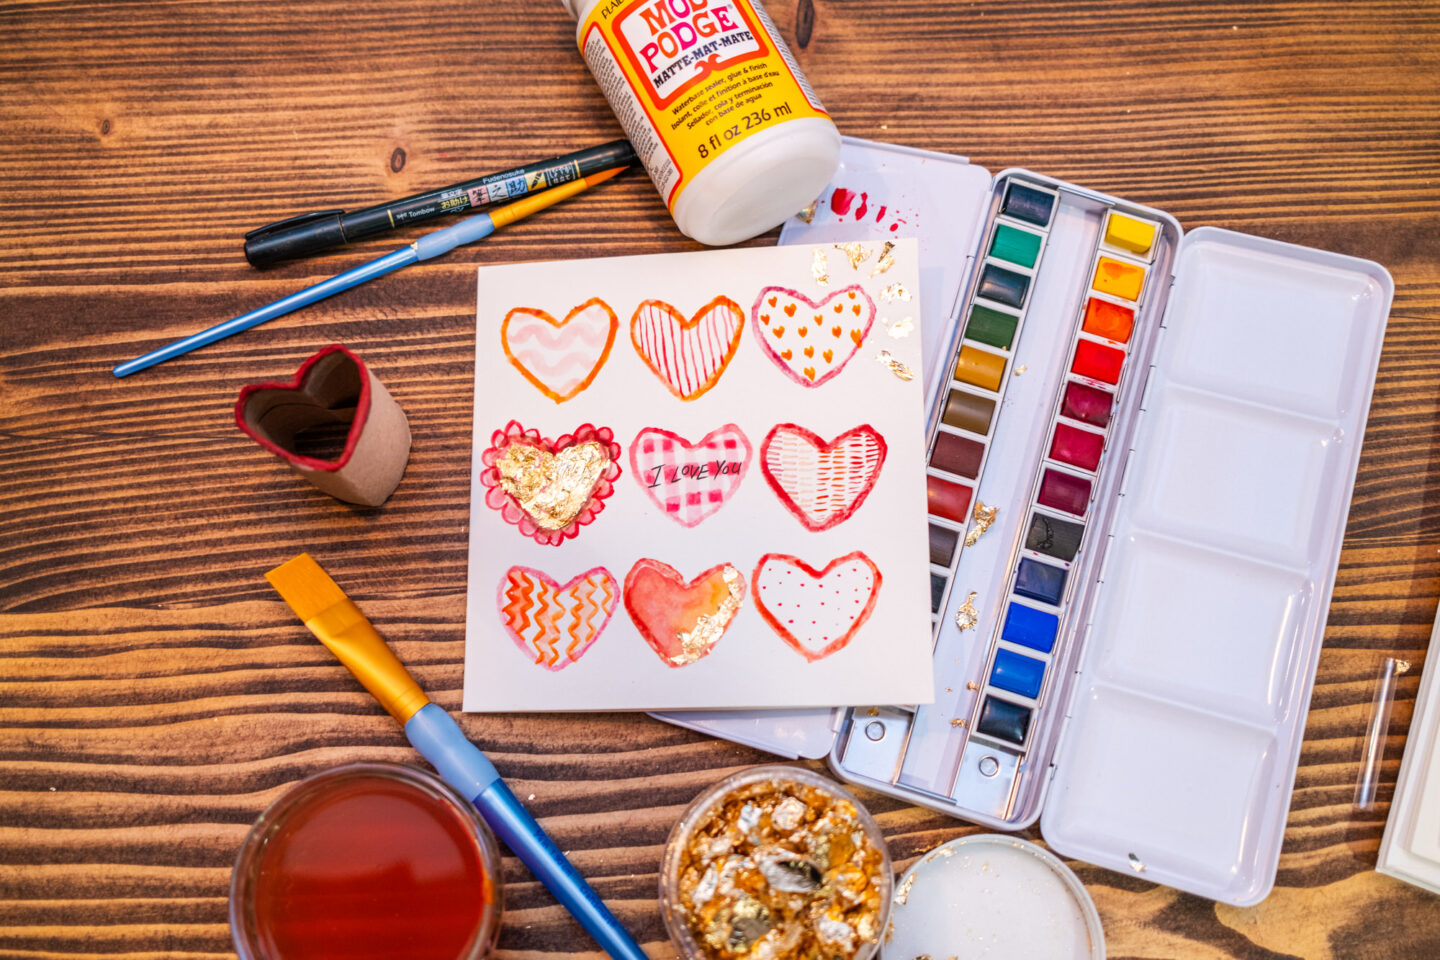
Materials You’ll Need
Gather these simple supplies before getting started:
- Blank Cards – I got mine from Home Bargains; they’re super affordable and come in a square shape, perfect for our design.
- Toilet Roll Tube – Yes, really! This will be used as a heart-shaped stamp.
- Watercolour Paints – I recommend using a quality set for vibrant colours. I love using these watercolours for their rich pigmentation.
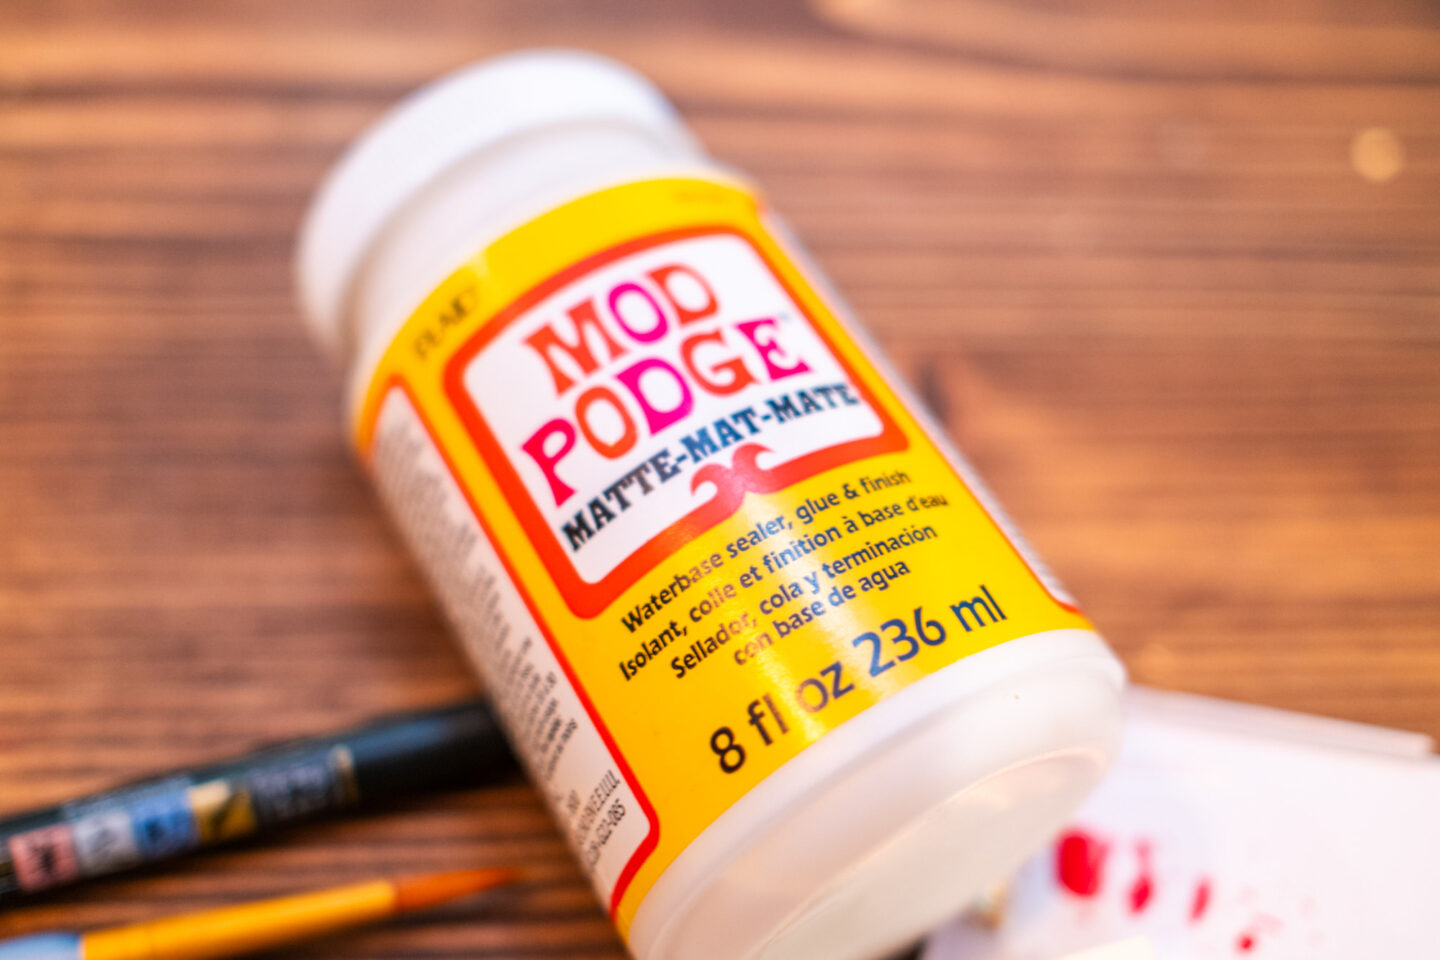
- Mod Podge – This will help us add a bit of sparkle to our design. Find it here.
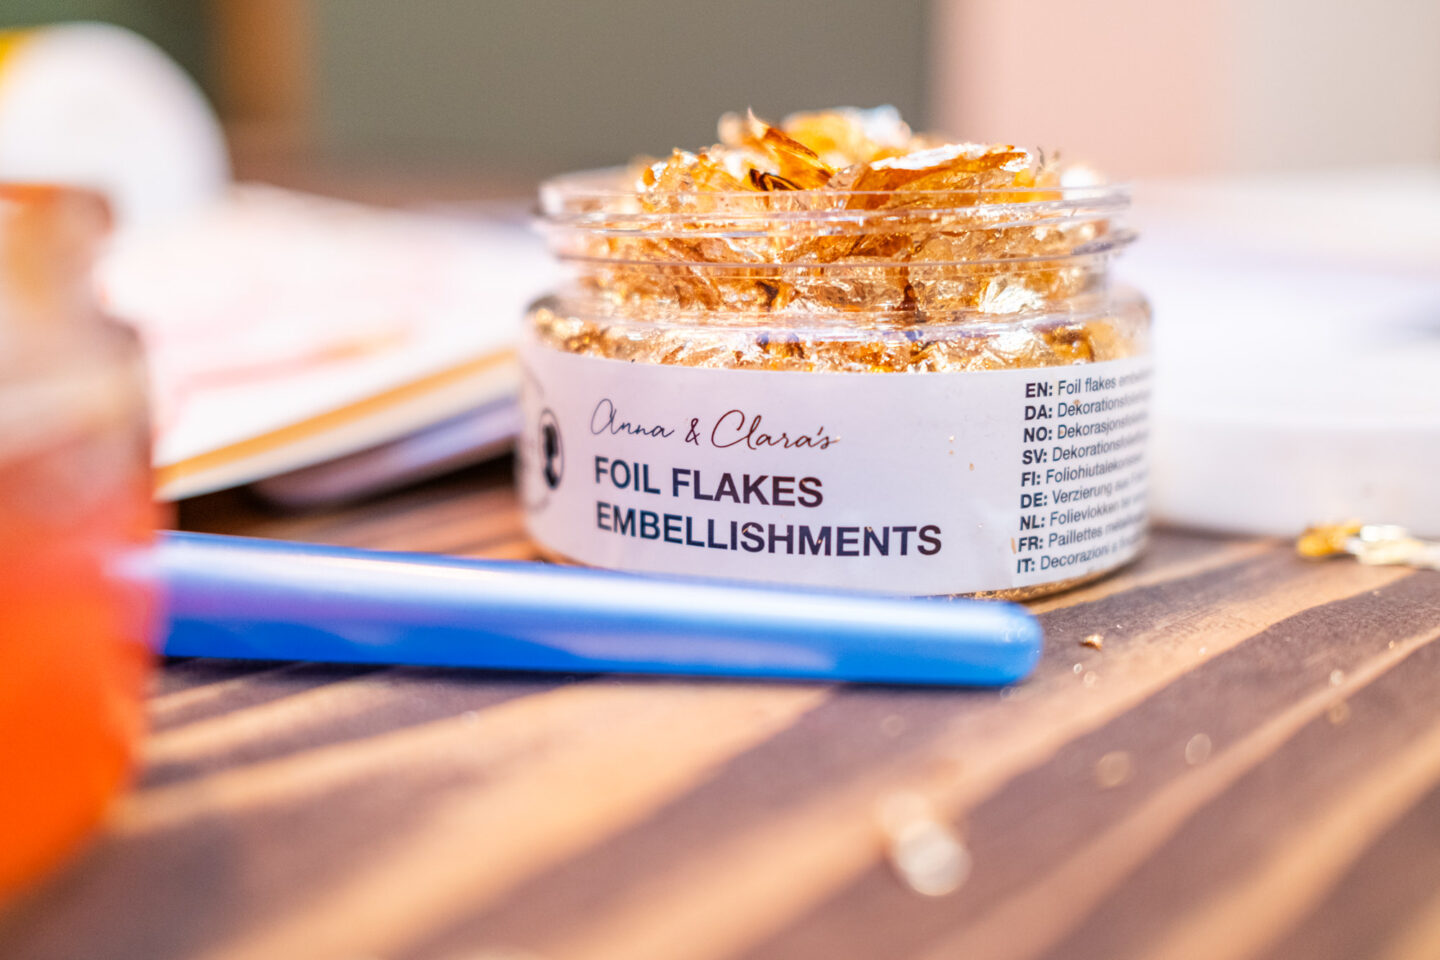
- Gold Foil Flakes – These add a luxurious touch to your card. I found some for just £1.98 at Søstrene Grene. Check them out here.
- Brush Pen – Perfect for writing messages and for adding your personalised message. I used the Tombow 62038 Fudenosuke brush pen.

Step-by-Step Guide
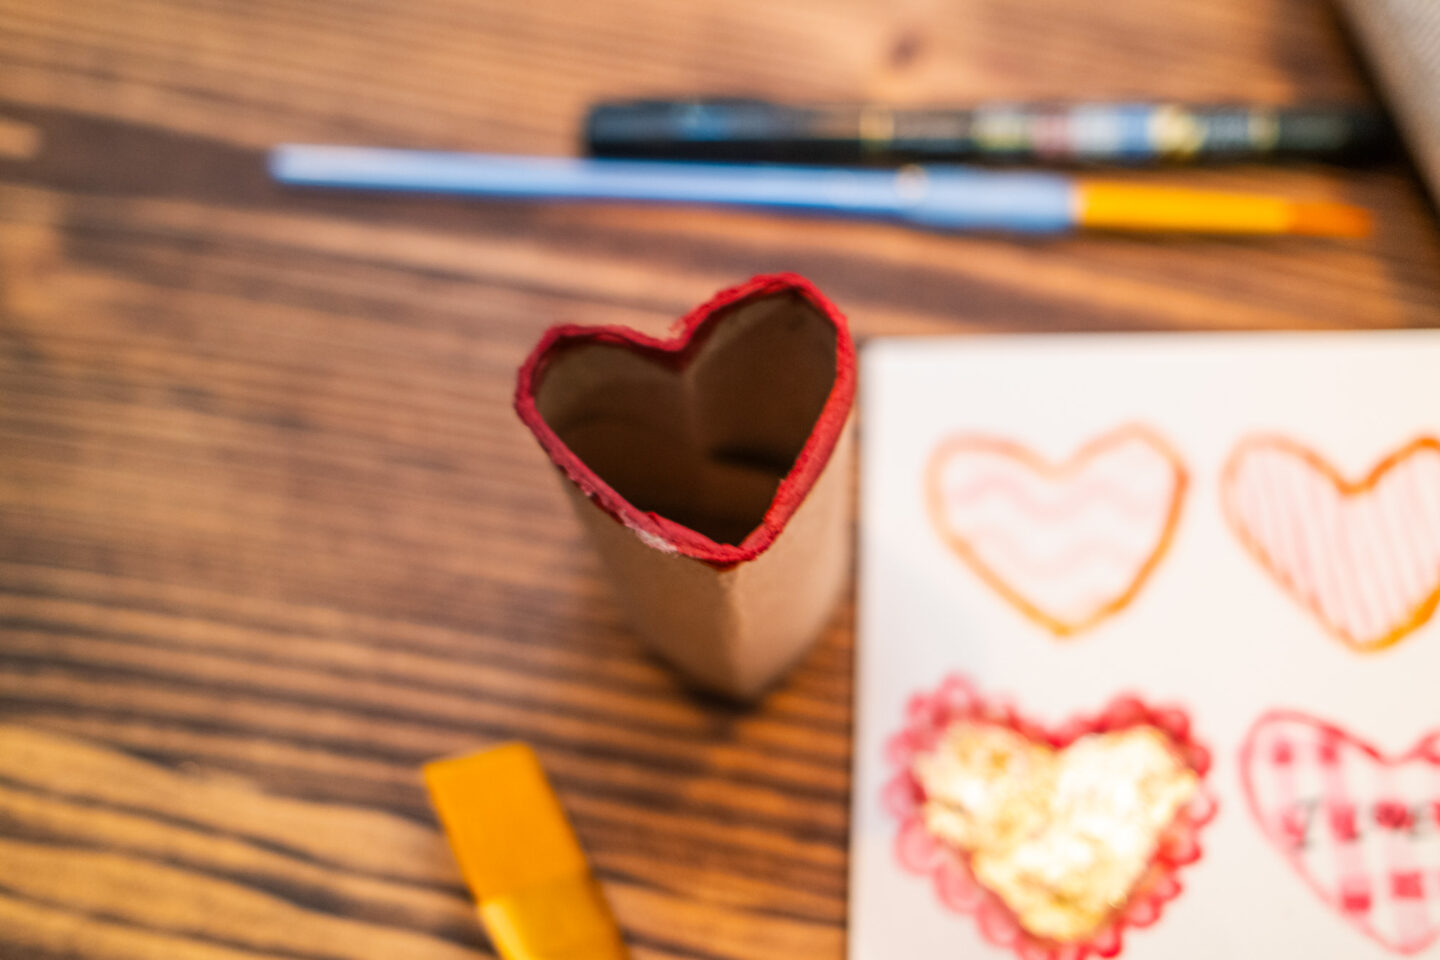
Step 1: Prepare Your Heart Stamp
Take your empty toilet roll tube and gently pinch it into a heart shape. This will be your stamp for creating uniform heart outlines on the card.
Step 2: Set Up Your Workspace
Lay your blank card on a flat surface and have your materials ready. If you’re worried about making a mess, place scrap paper underneath to protect your workspace.
Step 3: Stamp the Heart Shapes
- Dip the edge of your heart-shaped toilet roll tube into the watercolour paint or use a paintbrush to apply the paint to the end.
- Press it onto the card to create a heart outline. I started in the middle and recommend this for the correct spacing.
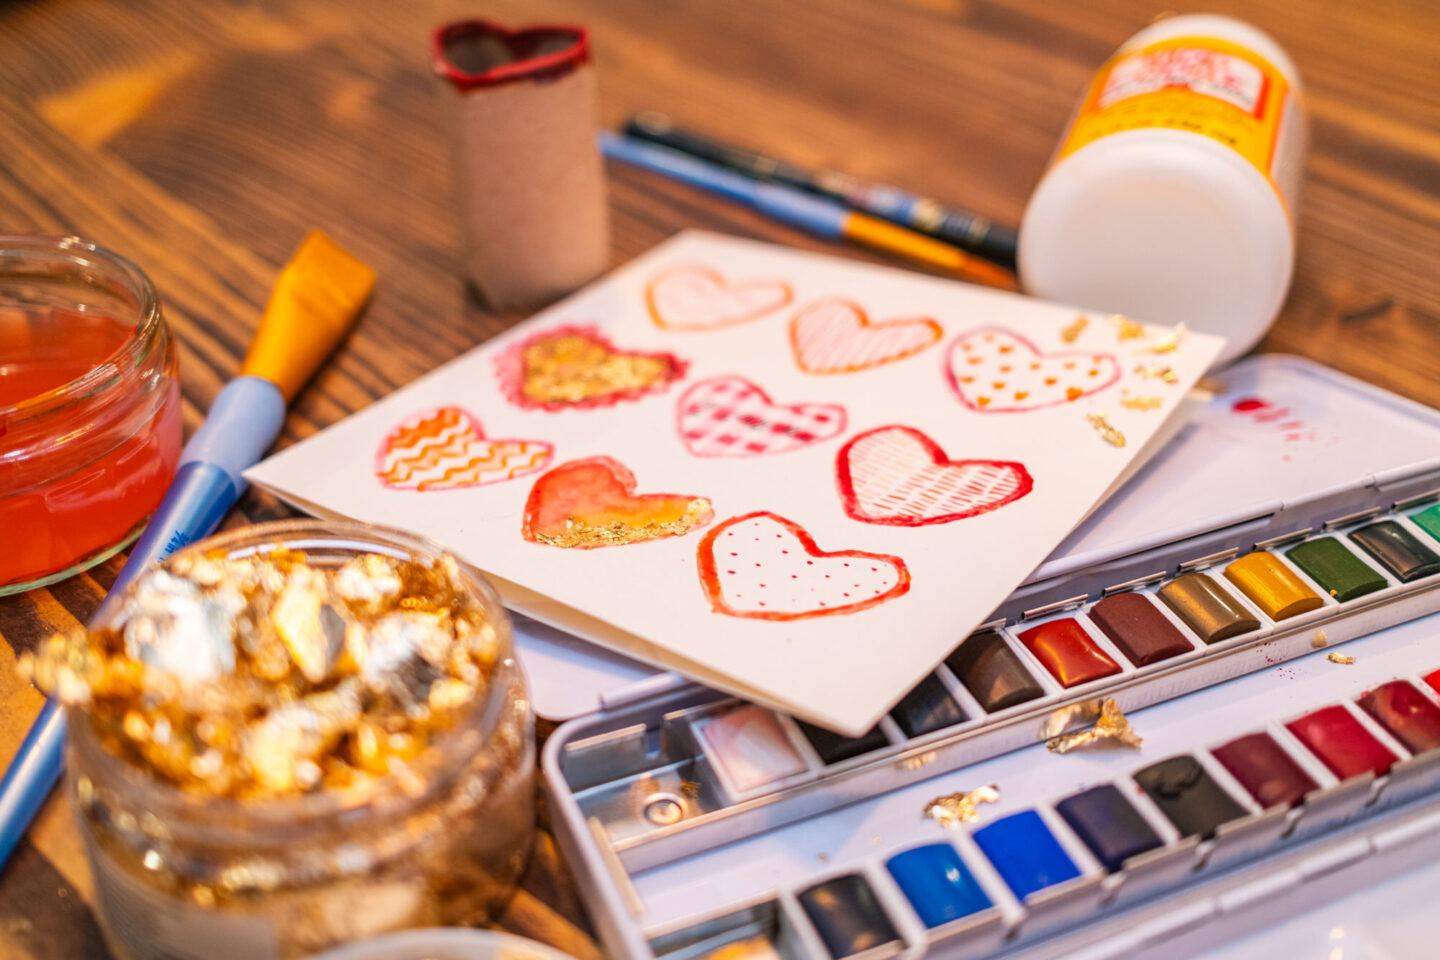
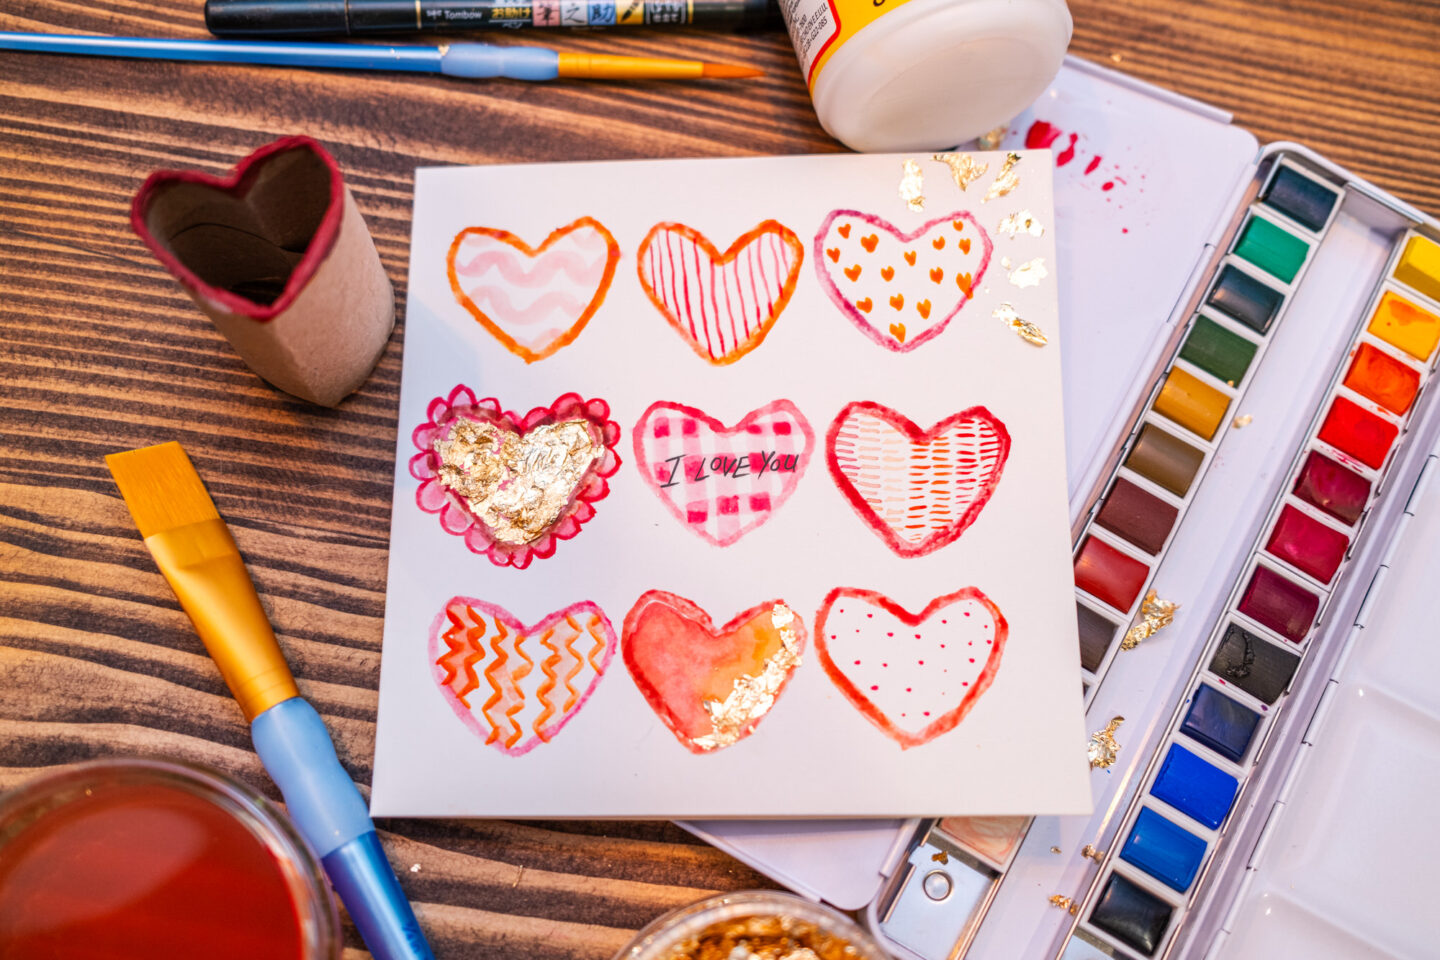
- For my square card, I repeated this and stamped nine hearts in a 3×3 grid pattern. Feel free to arrange them as you like!
- Let the outlines dry before moving on to the next step.
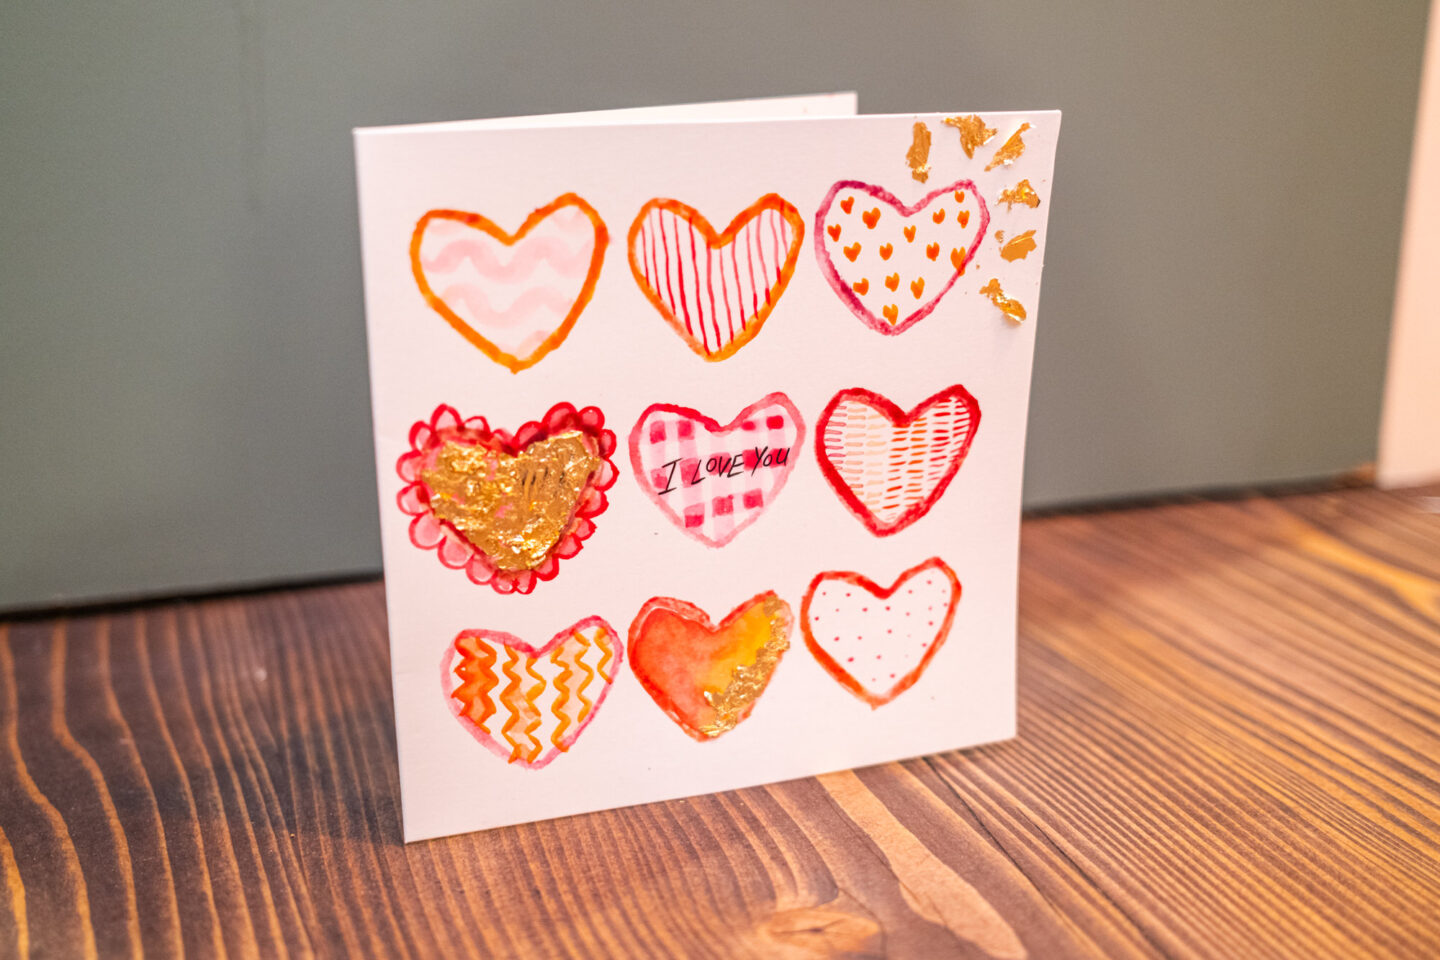
Step 4: Decorate Each Heart
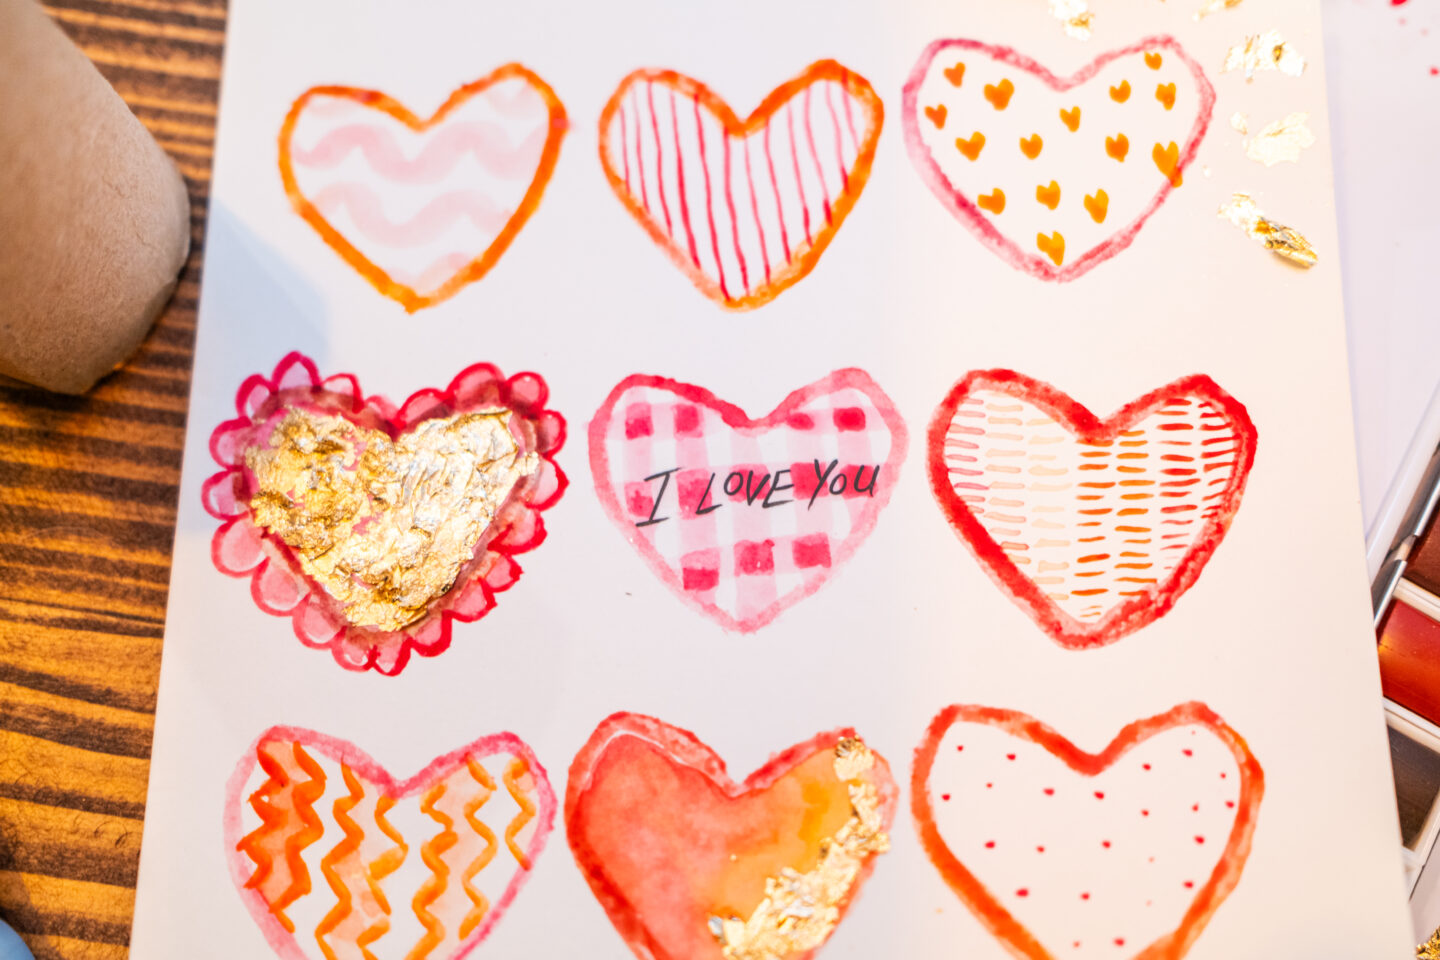
Now comes the fun part – decorating each heart! Here’s where you can let your creativity shine! I used a variety of designs to give each heart its own unique flair with different designs:
- Lines – Simple horizontal or vertical strokes and stripes.
- Gingham – A checkered pattern for a classic look.
- Polka Dots – Cute and playful.
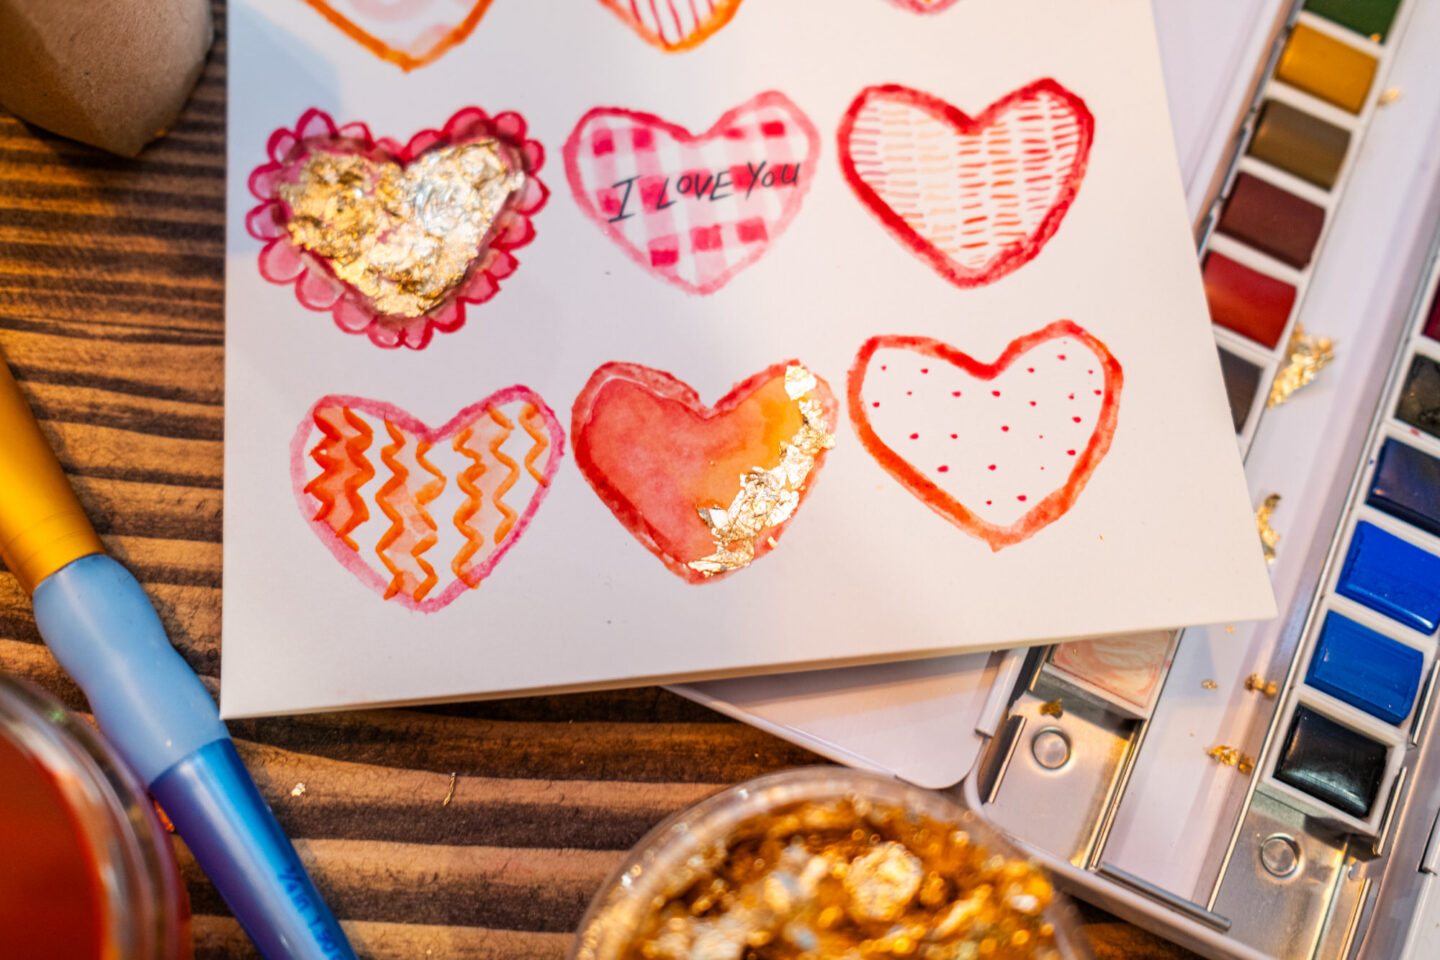
- Scallops – Wavy edges for a delicate touch.
- Mini Hearts – Tiny hearts inside the larger heart.
- Waves – Gentle, flowing lines.
- Zigzags – Adds a dynamic effect.
- Watercolour Wash – A soft, blended background gradient of colour effect.
Pro Tip: Experiment with different colours and blending techniques for added depth and texture. Feel free to experiment with these designs or come up with your own. The goal is to make each heart stand out. There is no right or wrong way to decorate each of them.
Step 5: Add some Sparkle with Gold Foil Flakes
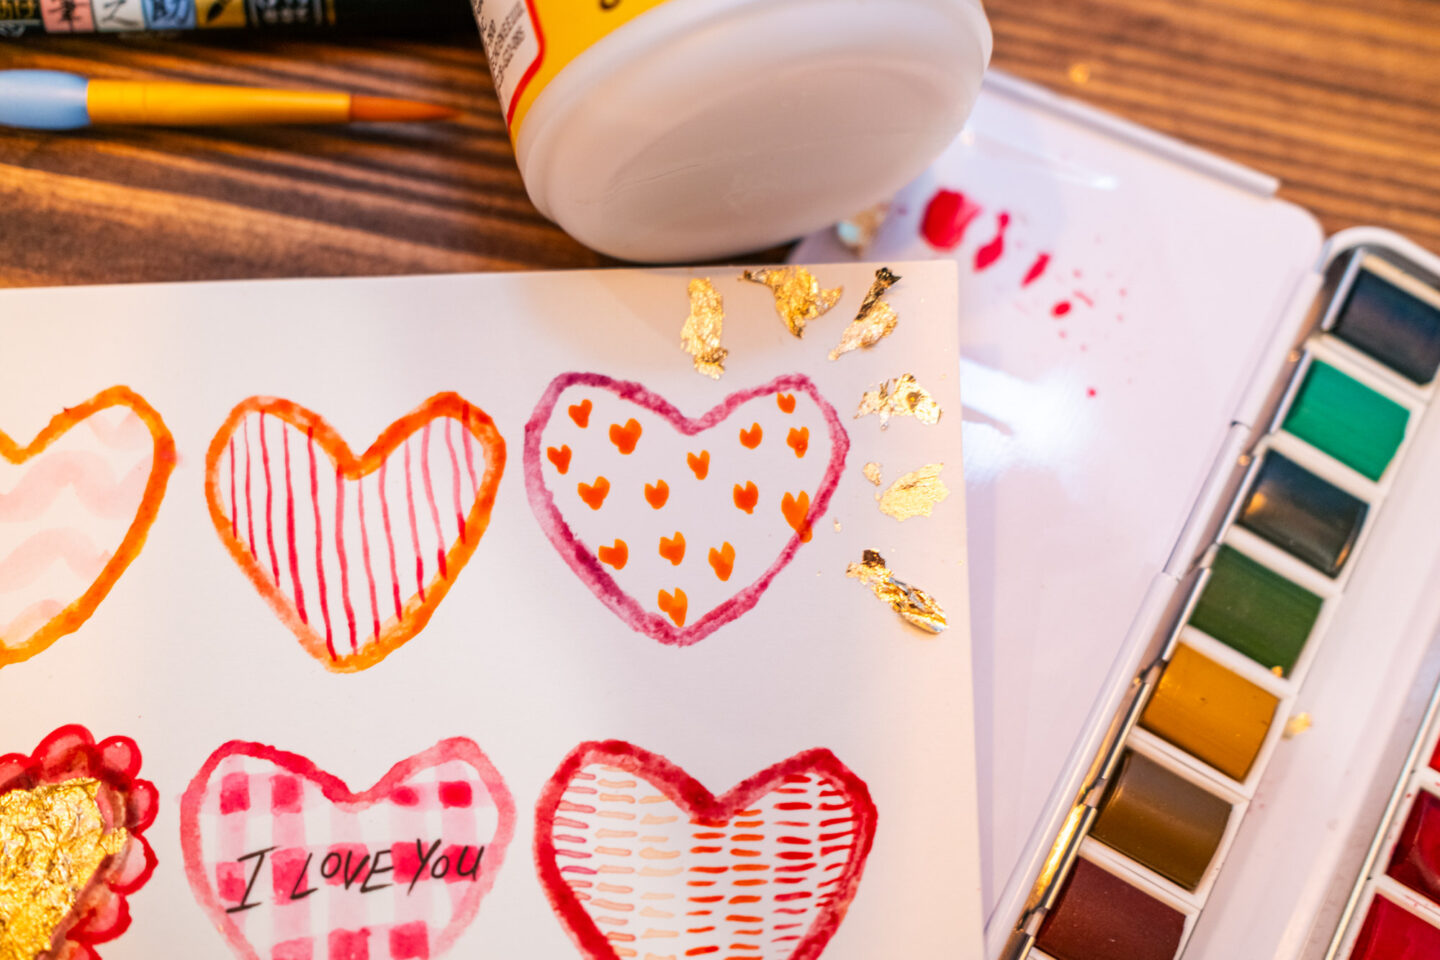
Once your painted hearts have dried, it’s time to add a little shimmer.
- Apply a thin layer of Mod Podge to select areas of the card where you want to add some shine.
- Sprinkle a small amount of gold foil flakes on top.
- Gently press the gold foil flakes down onto the Mod Podge to adhere.
- Let dry completely before shaking off any excess flakes.
Use sparingly to create a subtle, elegant effect. This simple step elevates the card and makes it feel extra special!
Step 6: Personalise Your Message
Now, it’s time to add the final touch – a heartfelt message.
- Using the Tombow brush pen, write a sweet message in the centre heart.
- I chose “I LOVE YOU,” but you can write anything that feels right for your Valentine!
- You can also add their name, a special date, or an inside joke for a more personal touch.
Extra Tips for Success
- Practice First – Before stamping on your actual card, do a practice test with the toilet roll heart stamp on scrap paper to get a feel for the technique.
- Embrace Imperfections – Handmade means unique! Handmade cards have charm because of their imperfections. Don’t stress over minor mistakes or little smudges; they add character!
- Experiment with Colours – Watercolours offer a beautiful range of hues. Mix and match to create shades that speak to you. Soft pastels or bold reds and pinks work beautifully for Valentine’s Day but a rainbow of shades would also be fun.
Why This Handmade Valentine’s Day Card is Special
- It’s budget-friendly yet looks elegant.
- The gold foil adds a luxurious touch.
- It’s easy enough for beginners and kids to try.
- Every card is one-of-a-kind, making it extra meaningful.
If you’re looking for more Valentine’s Day inspiration, check out my other ideas here.
In today’s digital age, taking the time to create something by hand speaks volumes. A handmade Valentine’s Day card shows thoughtfulness, effort, and love—qualities that are sure to make your Valentine feel special. Plus, it’s a wonderful way to express your creativity and unwind.
Final Thoughts
This DIY watercolour handmade Valentine’s Day card is an easy, creative, and heartfelt way to show your love. Whether you’re making it for a partner, a friend, or a family member, they’ll appreciate the effort and thoughtfulness behind a handmade card.
Creating a DIY watercolour handmade Valentine’s Day card is a fulfilling and enjoyable project. It’s an opportunity to slow down, tap into your artistic side, and craft something truly meaningful. Whether you’re a seasoned artist or a complete beginner, this project is accessible and fun.
Happy crafting, and may your Valentine’s Day be filled with love and joy!
So grab your supplies, put on your favourite playlist, let your creativity flow and enjoy the process of making something beautiful!
Will you be trying this craft? Let me know in the comments! 💕
Happy crafting and Happy Valentine’s Day!
