Instructions – How To Do Shellac Nails At Home
I love to go for a manicure at the salon but it is very expensive. I chip regular polish so easily I have started doing my own shellac nails diy style at home. I love that bit of indulgence, taking a little me time. The steps for shellac are very simple and should be easy to follow for anyone who uses regular polishes. Shellac is longer lasting than regular polish and doing your shellac nails at home can save you a lot of money. Before applying Shellac, make sure that you don’t have any existing nail fungus. You can visit NailFungus.co.uk to find out if you have nail fungus and what to do to treat it if you have it.

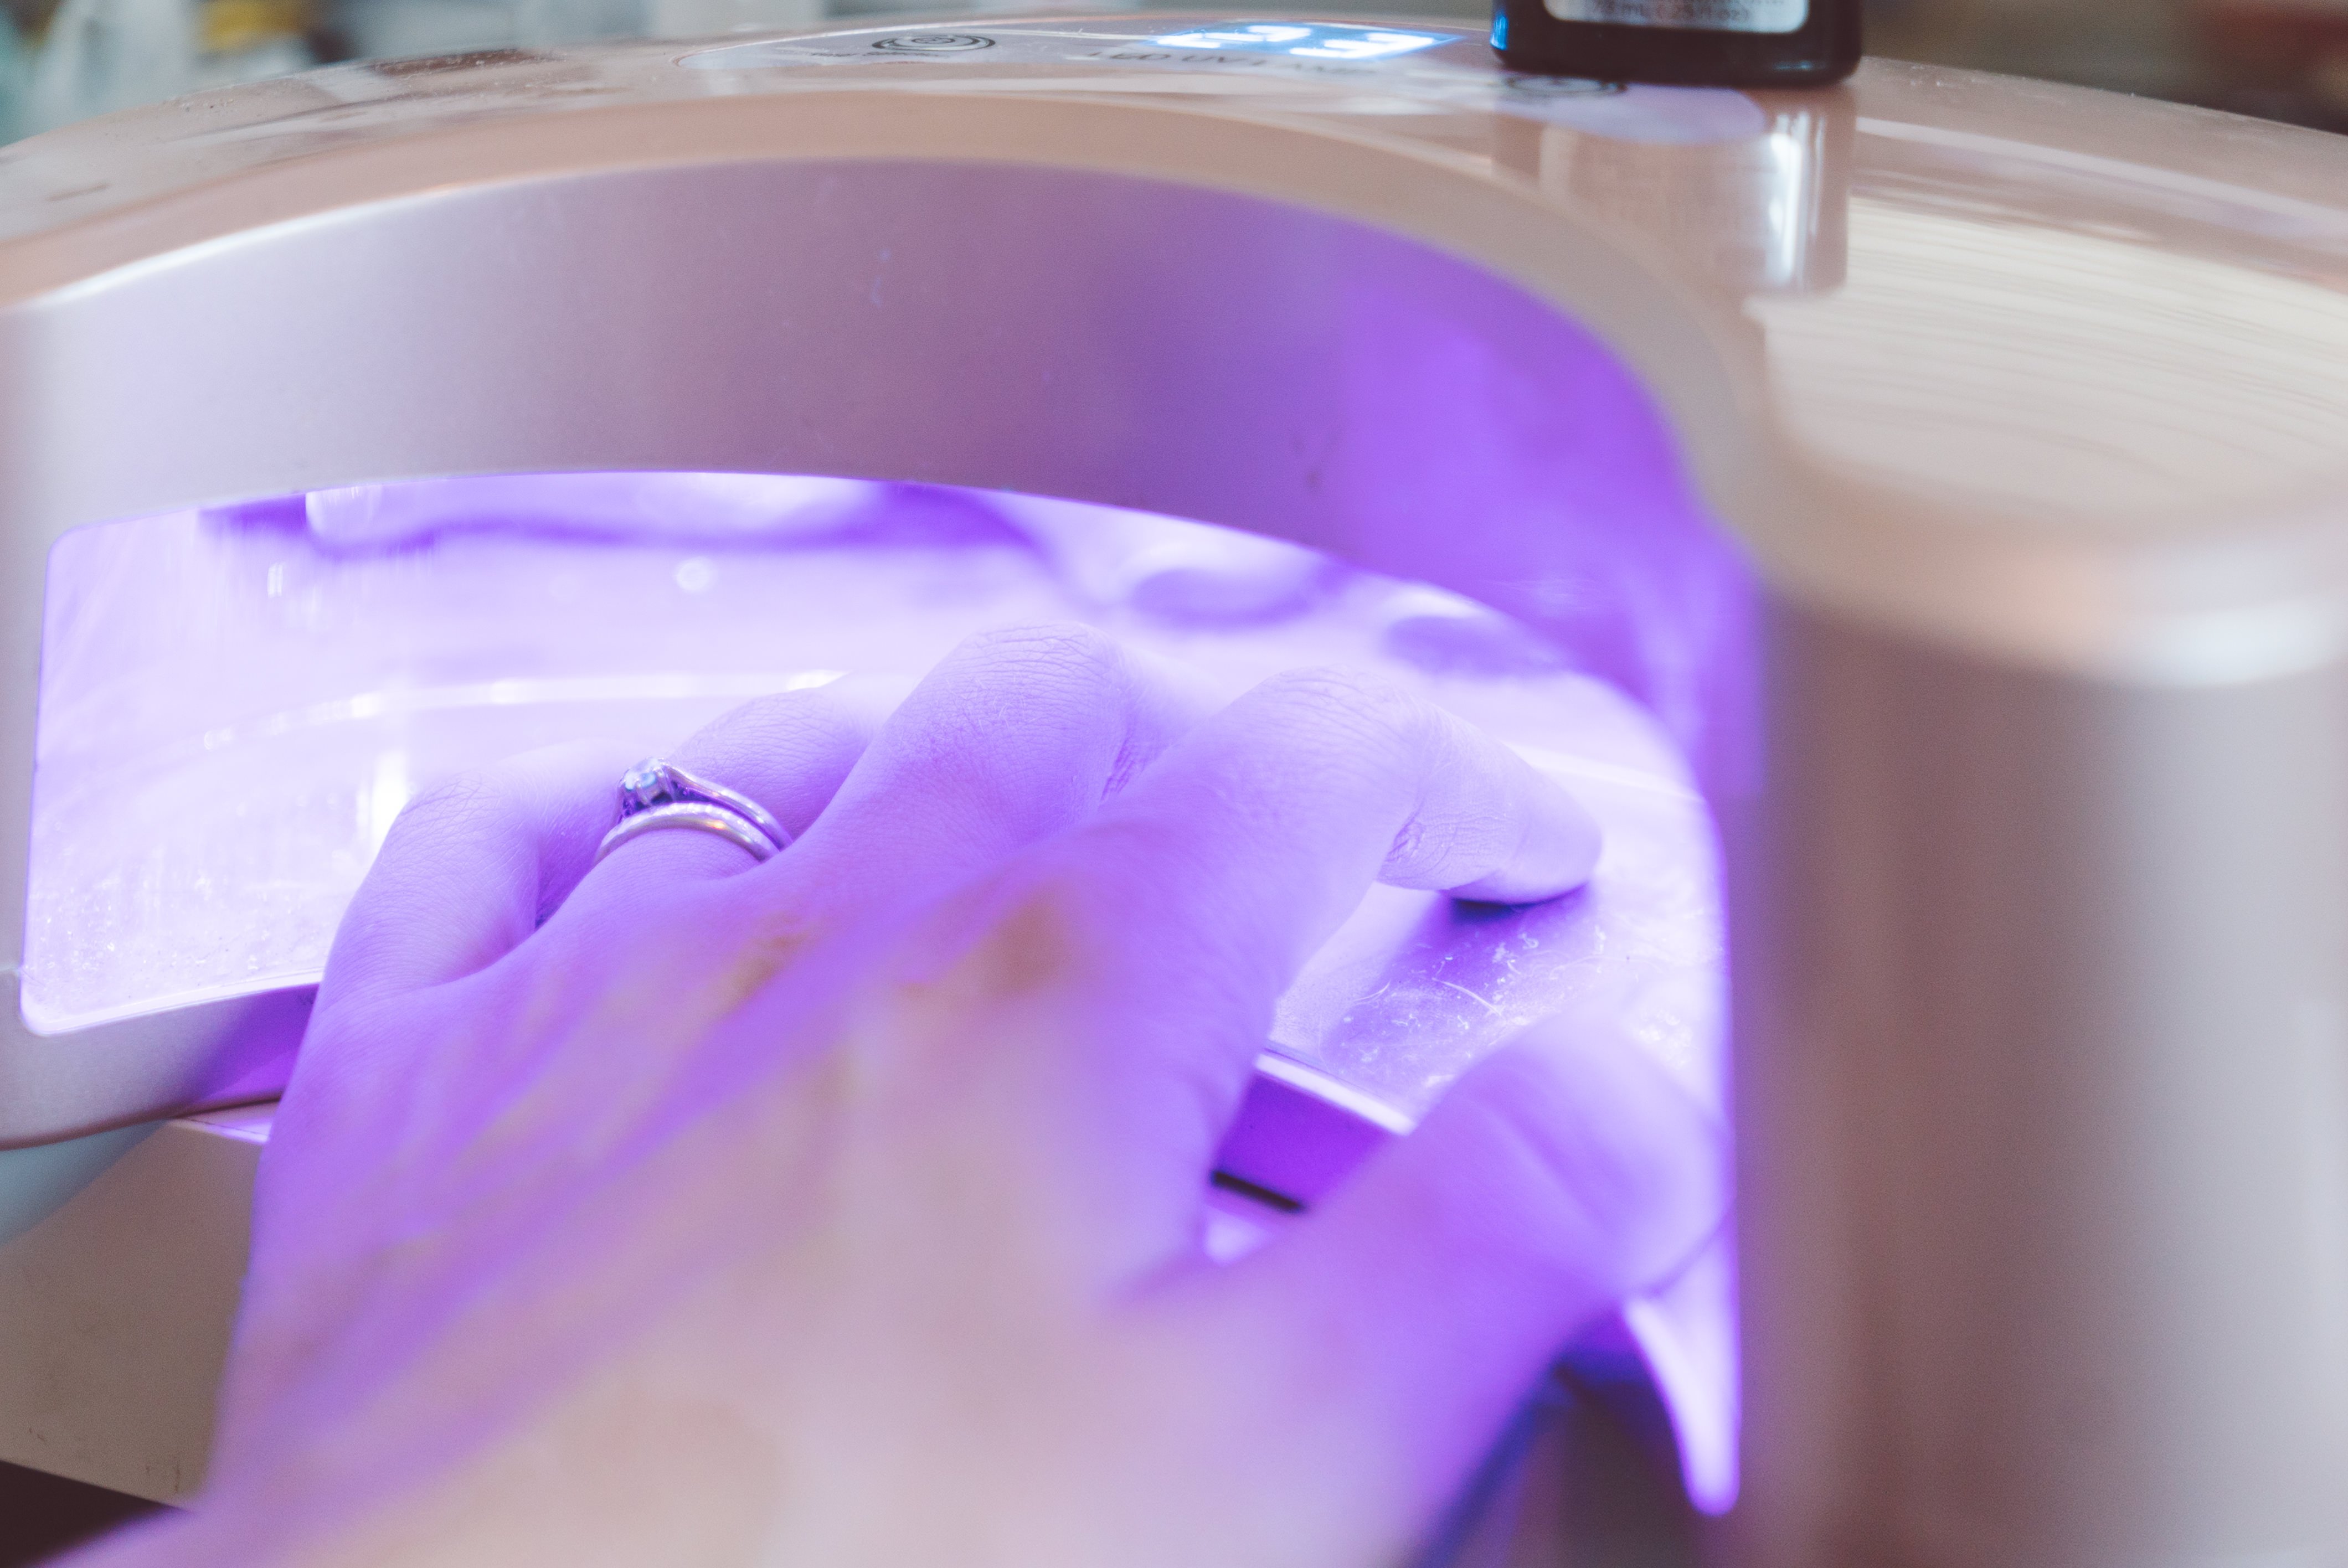
Shellac is simple and easy with these tips and step by step instructions as it really is no harder to use than regular nail polish, however it does require a UV nail lamp. It may take you slightly longer to apply but shellac nails last around two weeks depending on how quickly your nails grow.
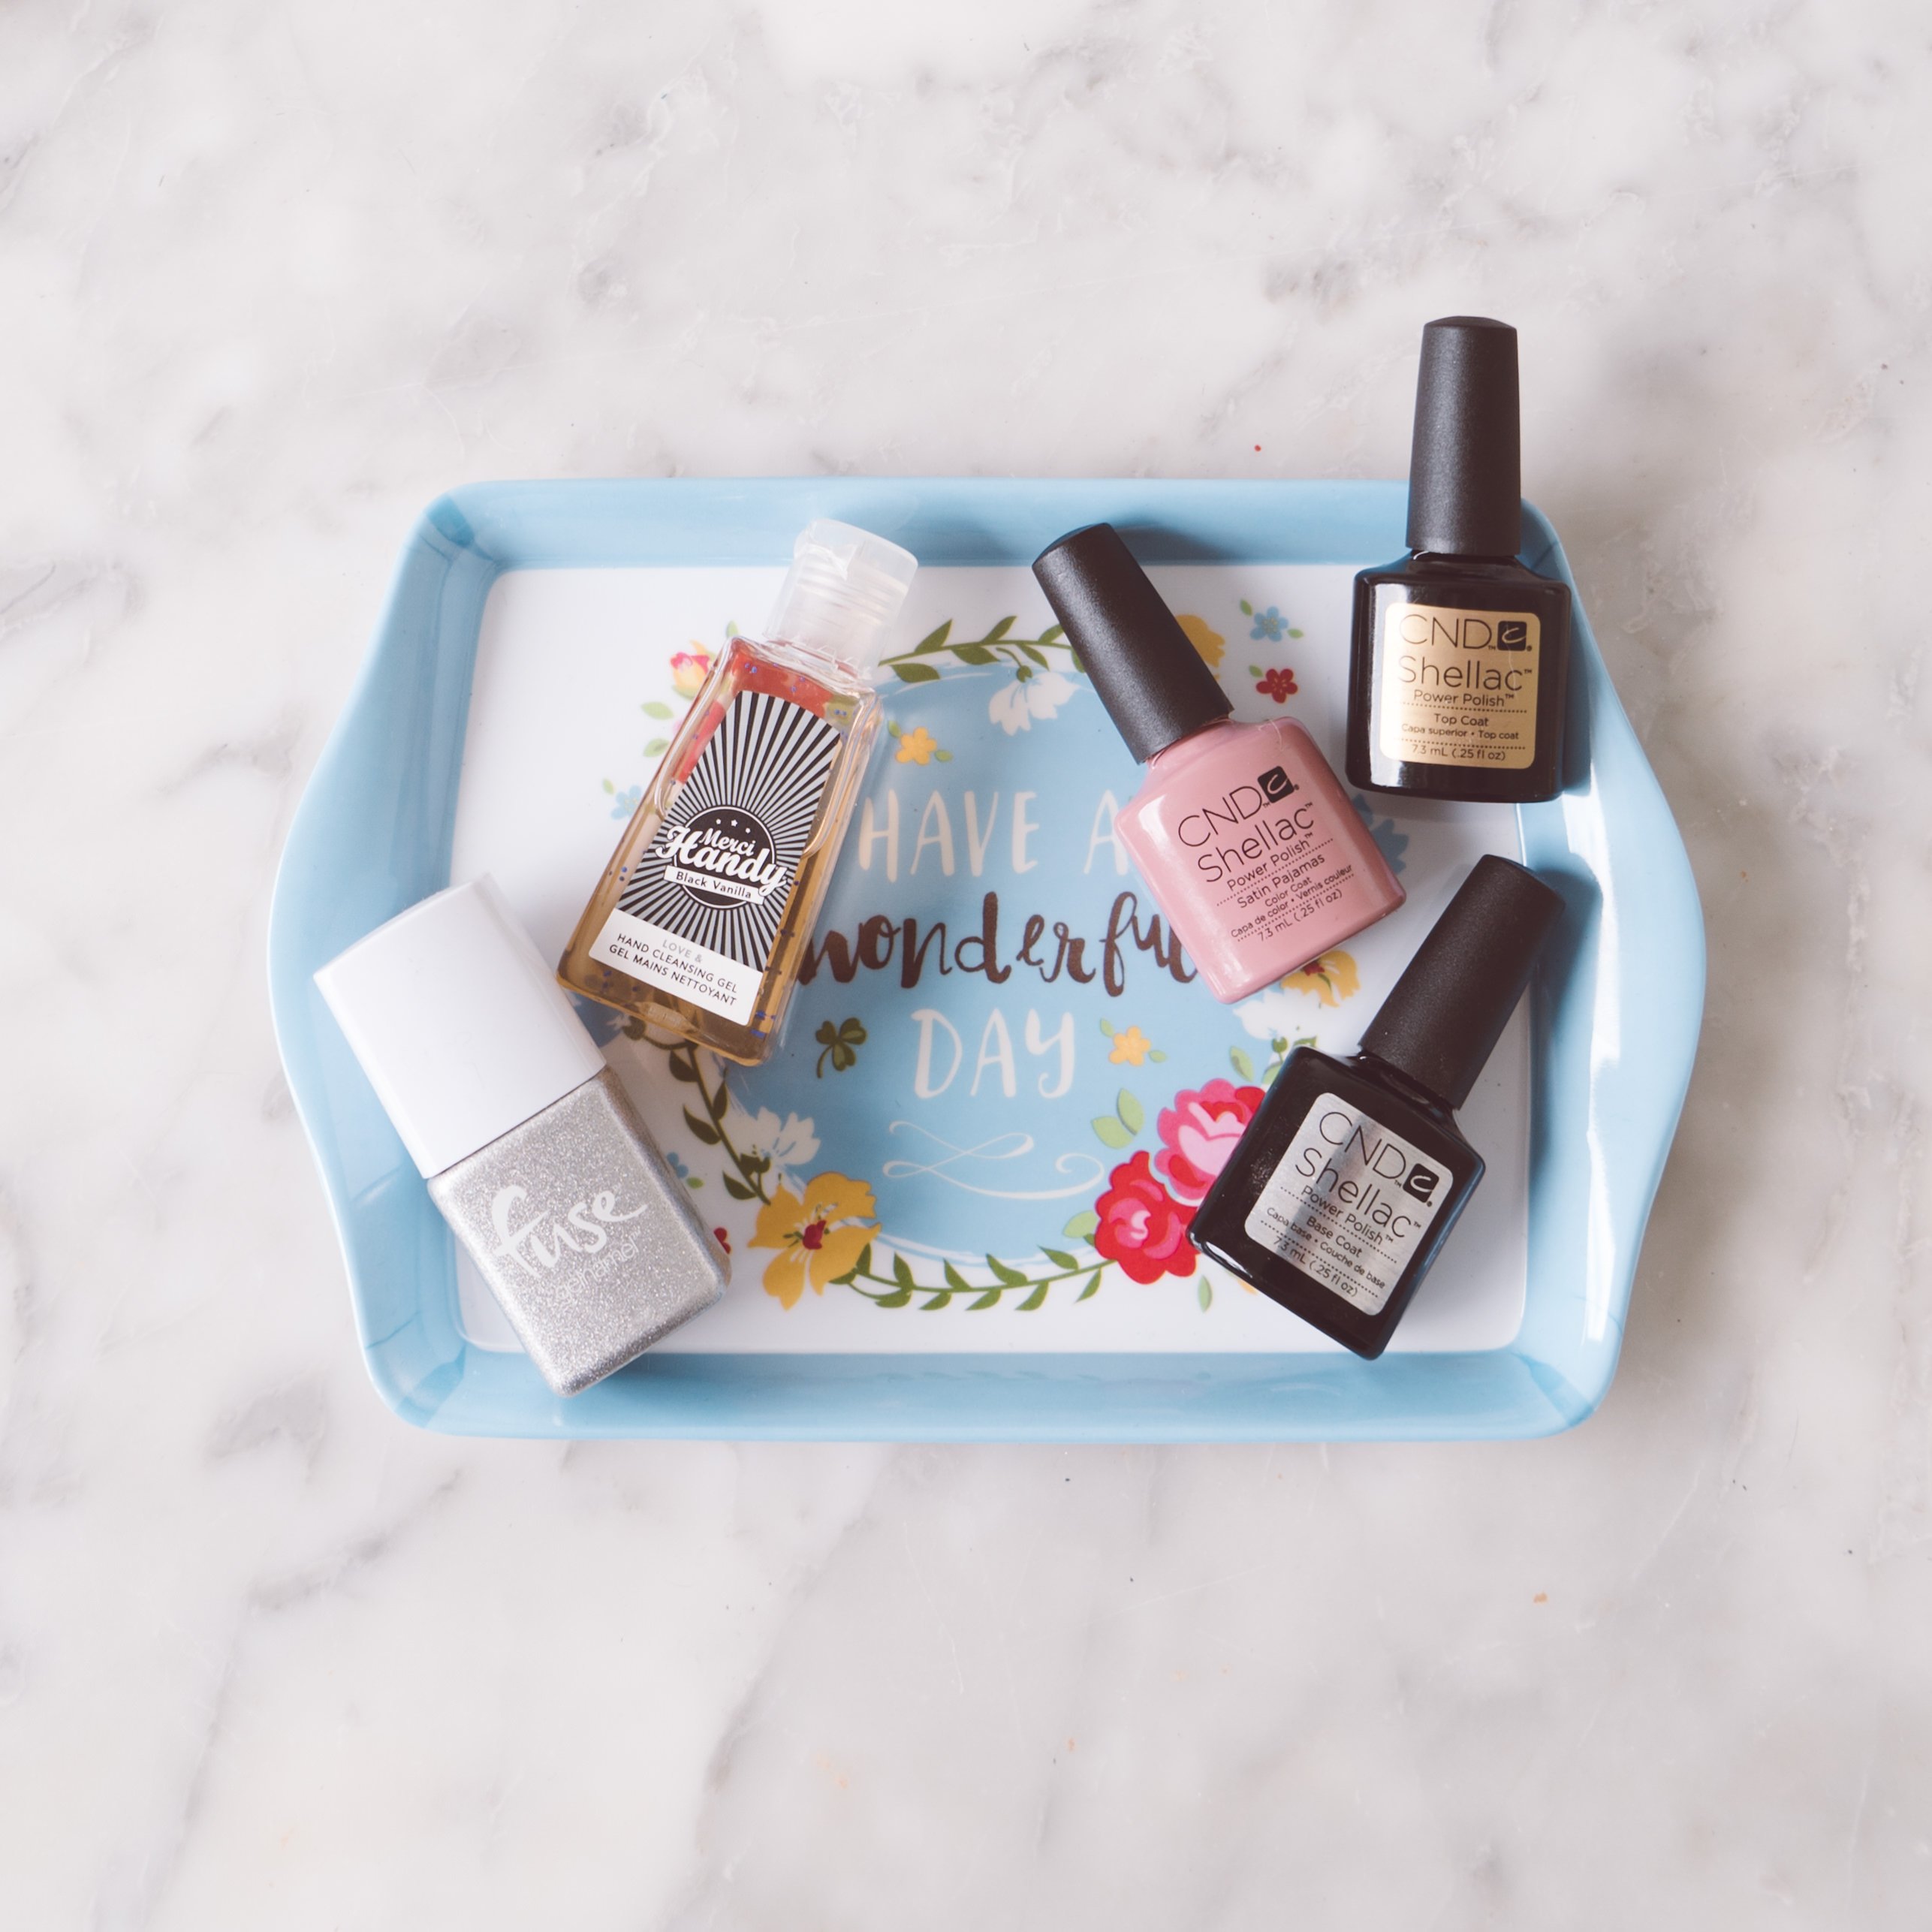
Everything you will need:
Shellac Nails DIY Instructions –
1. Prep
File nails and gently push back cuticles. When happy with the nail shape clean well to remove any dust with a lint free cotton pad.

2. Primer
Apply a thin layer of SuperBond and leave to air dry for 20 seconds so that the Shellac adheres well.
3. Base
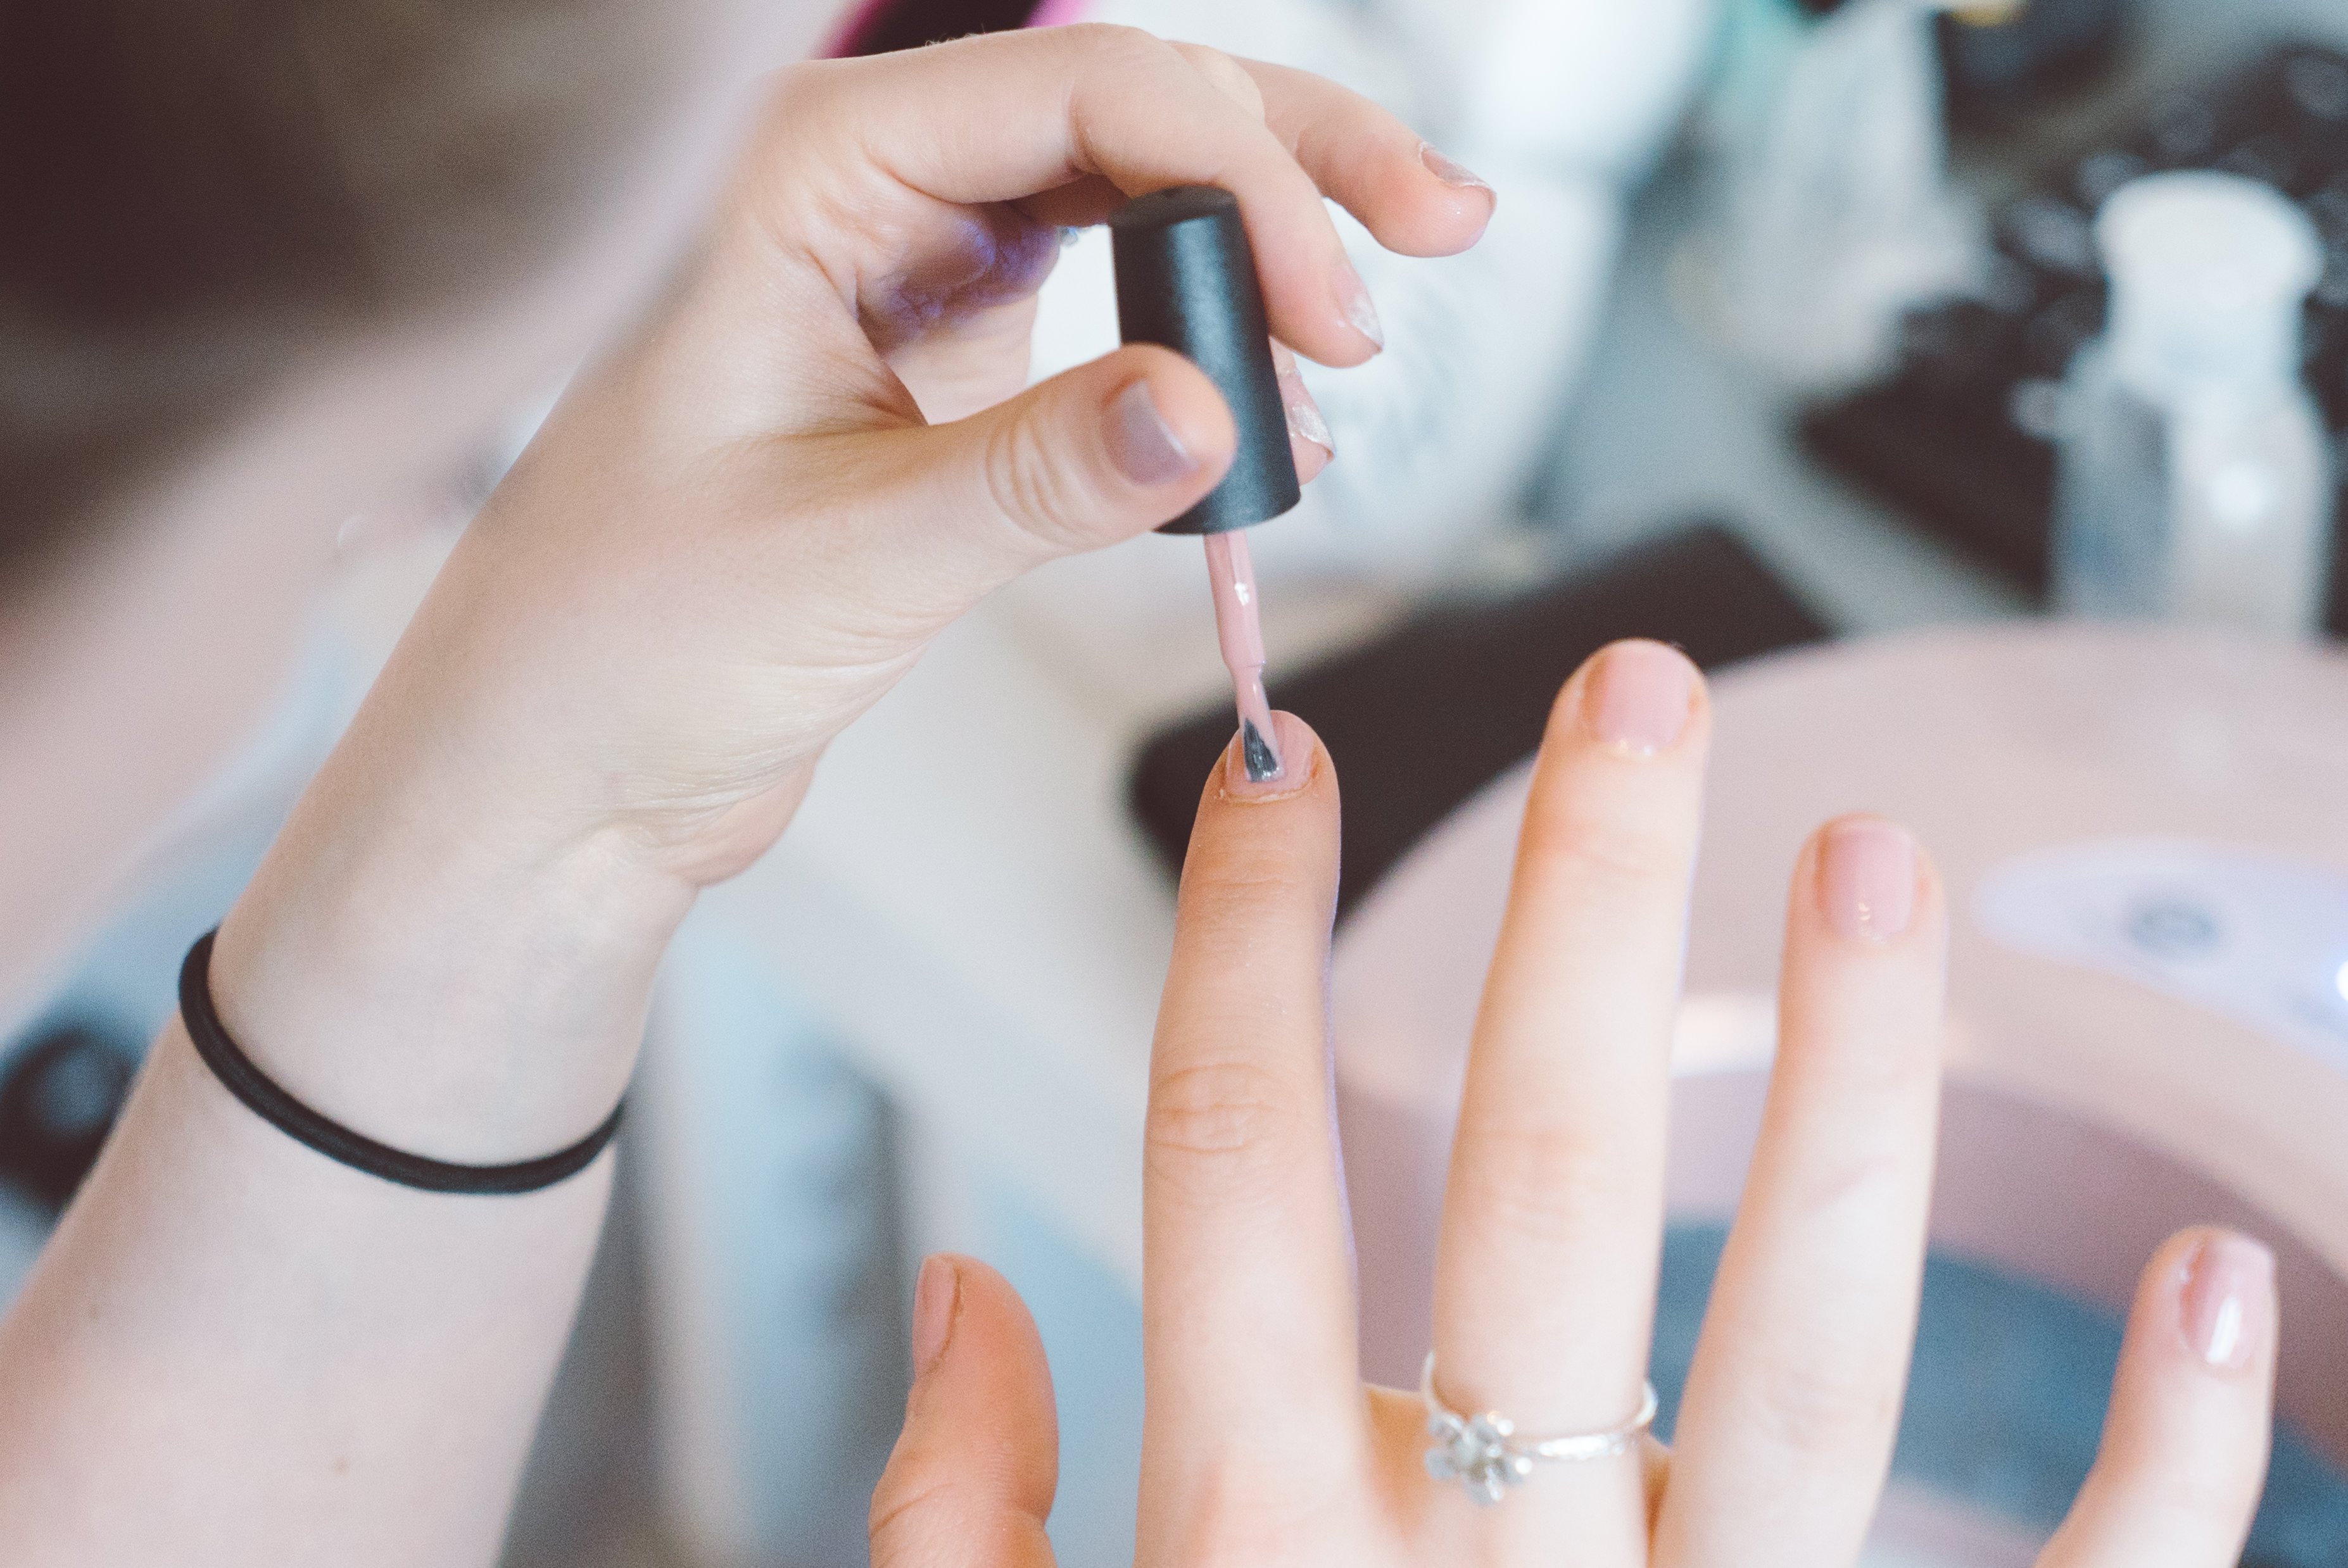
Apply a thin layer of base coat, starting at the cuticle and slowly brushing to the tip of the nail in even strokes. Be careful to start a millimetre from the skin, then cure with the UV lamp. The nail will be dry but has sticky residue so don’t touch.

4. Colour
Paint two, sometimes three very thin colour coats, curing with the UV light between each layer. Stay just inside the edge of the base coat and make sure to leave a tiny edge all the way around the nail. The nail polish will be dry after curing but will still have its sticky residue so don’t touch.
5. Nail art
Once you are happy with your solid nail colour apply any nail art to your nails using other shellac nail polish shades. Followed by curing under your UV lamp.

6. Top Coat
When you are happy with your design apply a thin top coat and cure with the UV lamp. To make it last keep the polish from touching the skin or cuticle. As with the other coats use even strokes and keep it thin.
7. Residue
You nails are finished but will have a sticky residue which can be removed with rubbing alcohol, and alcolol wipe or as I use alcohol hand sanitisers. I love the Merci Handy black vanilla. Wipe each nail with some on a cotton pad and your nails are finished and shiny. Sooth cuticles with some almond CND SolarOil.

Shop the Post:
- UV or LED nail lamp
- Superbond
- Shellac Base coat
- Shellac Colour
- Shellac Top coat
- Nail file
- Cuticle pusher
- Alcohol hand sanitizer
- Nail art tools
- CND SolarOil
If you want to see more on Nail art and Nail care you can find it here.

This is a great guide your nails look lovely
Mel ★
This is such a cool kit! I’ve never heard of the brand before
brilliant in-depth post! x
your nails look so so nice xx